Ad placeholder

Sharran Sanctuary

From bg3.wiki
Jump to navigation Jump to search
Reithwin Town
House of Healing
↑
The Waning Moon ← Sharran Sanctuary → Reithwin Tollhouse
↓
Moonrise Towers
The Sharran Sanctuary is a Location within Reithwin Town in Act Two of Baldur's Gate 3.

Overview[edit section | visual editor]

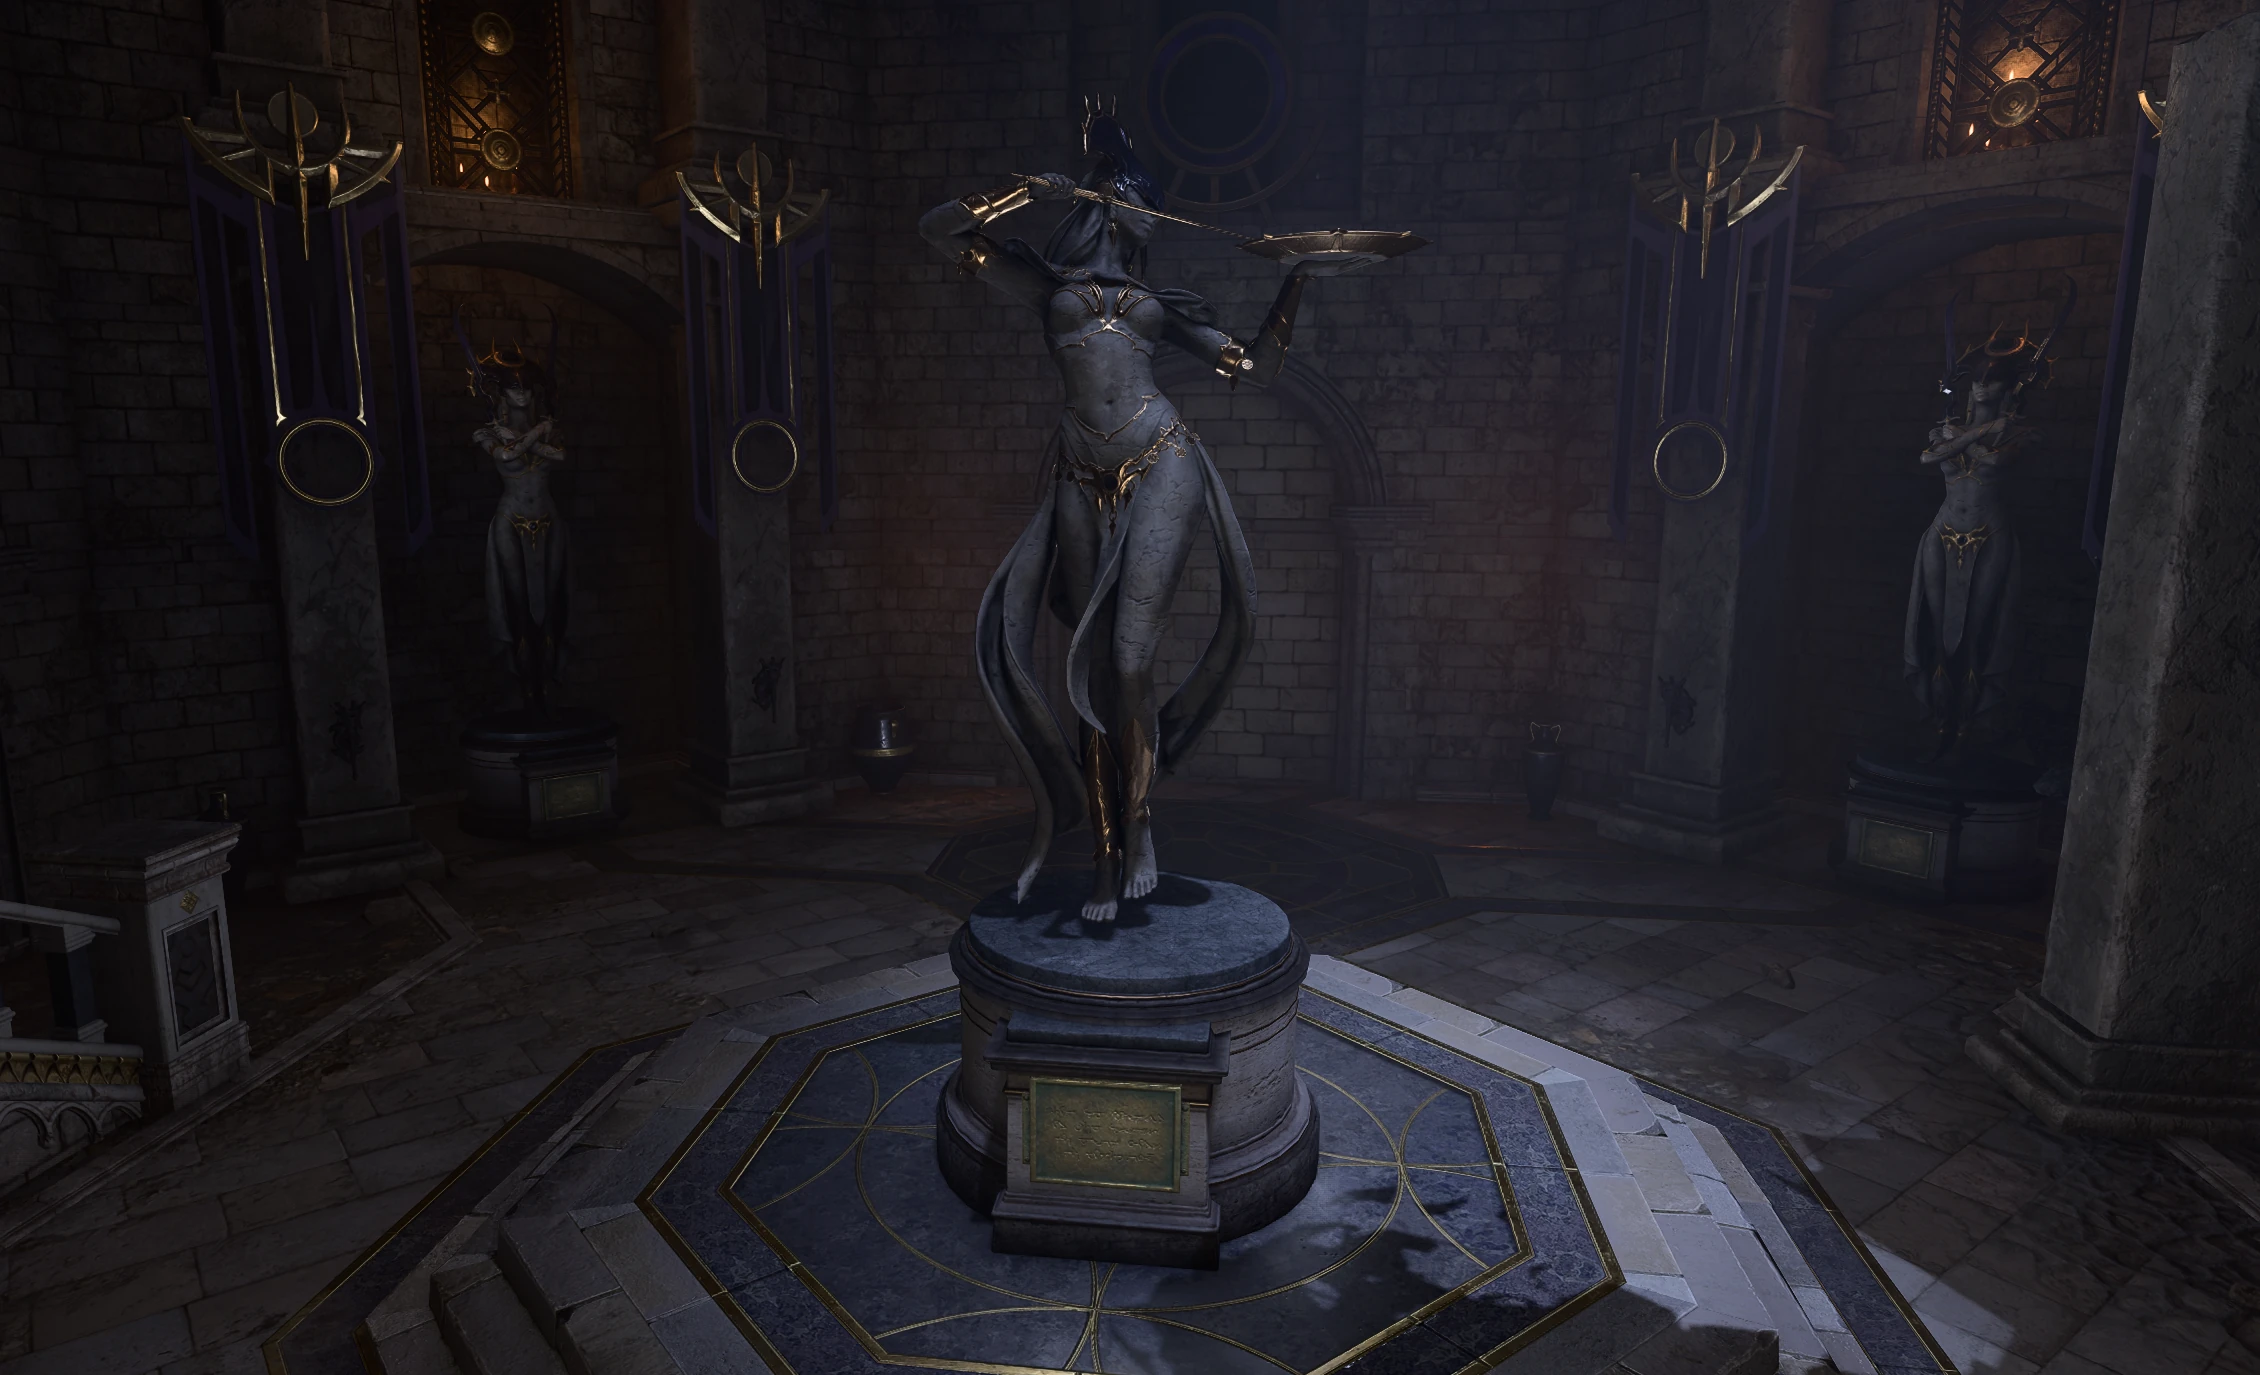
The Sharran Sanctuary is a hidden subterranean location in the middle of Reithwin Town in Shadow-Cursed Lands. Unlike the Gauntlet of Shar, located under the Grand Mausoleum, it is only a small fane dedicated to Shar Shar with several effigies of the goddess, through which she can bestow her benevolence - or vent her ire - onto those who appeal to her.

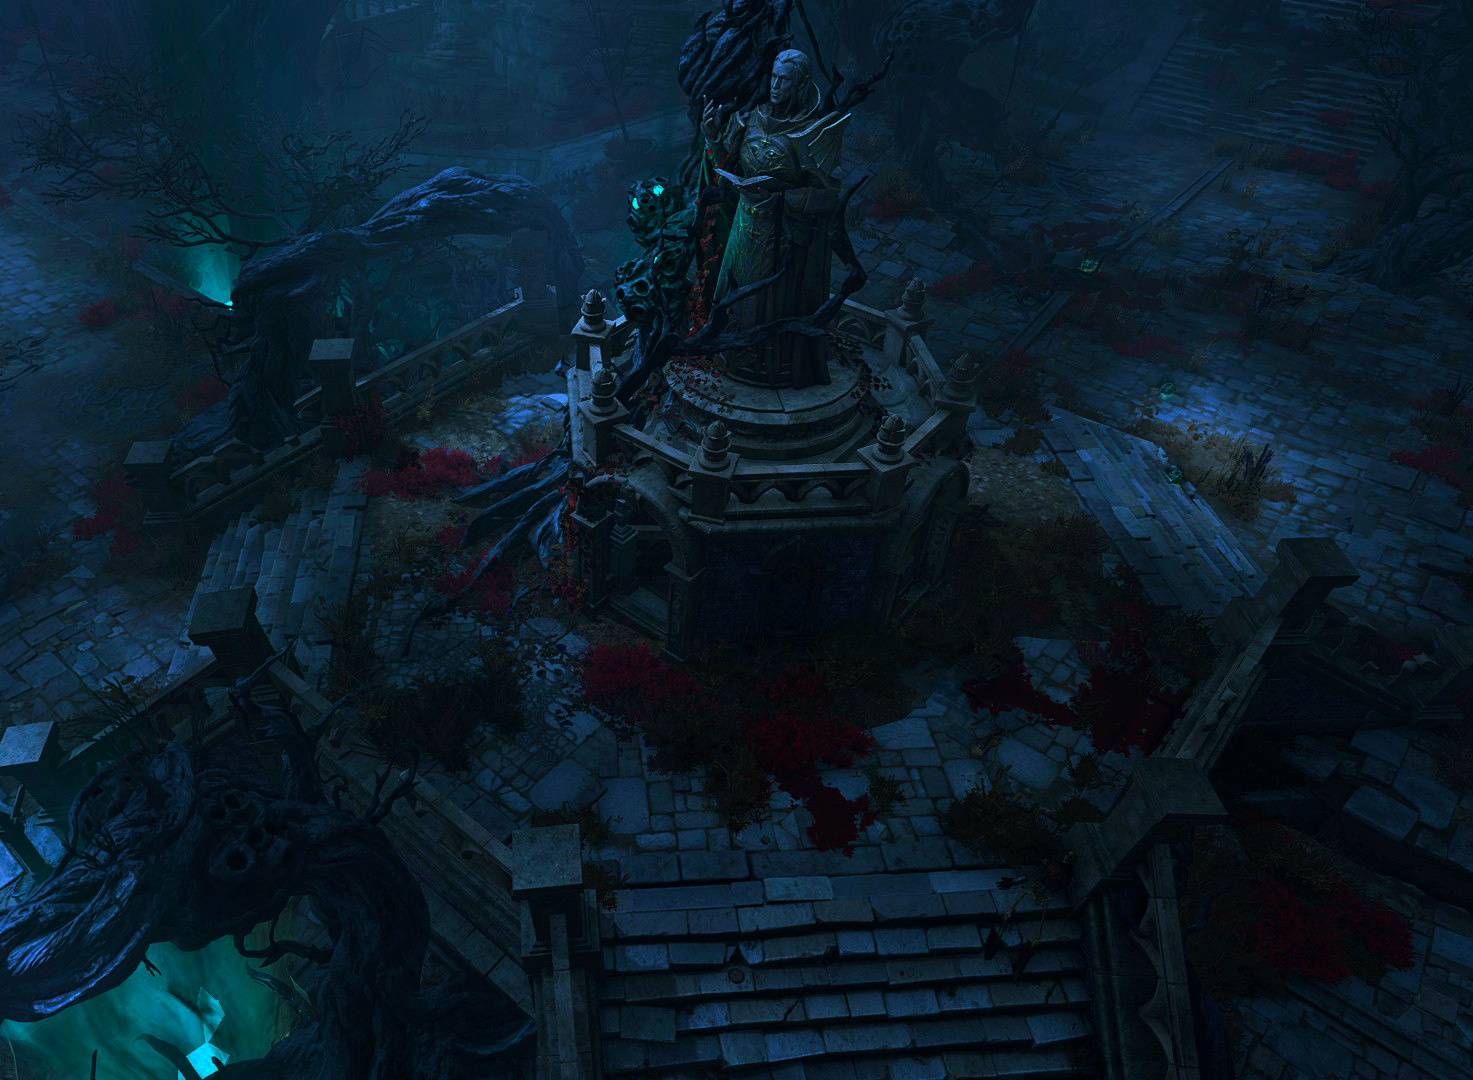
The entrance to the sanctuary is in the basement of the large statue of Ketheric Thorm Ketheric Thorm standing in the middle of the central square of the town at X: -152 Y: -30. The statue itself depicts Ketheric Thorm as he was sometime in the past: a stately leader clad in Selûnite armour. If Shadowheart Shadowheart is in the party, she comments on this sight, depending on whether she knows Ketheric's story and also on whether she remains loyal to Shar.

Central Square Encounters[edit section | visual editor]

When the party approach the central square for the first time, they are attacked by a pack of shadow-cursed creatures: three Shadows Shadows and four Shadow-Cursed Harpers Shadow-Cursed Harpers. This encounter is not considered an ambush and the party is not surprised surprised.

If the party have already resolved the encounter with the Cult of the Absolute convoy⁠Cult of the Absolute convoy and convinced Kar'niss Kar'niss and his escort to go in the shadows without defence,[1] the drider and all other members of the convoy wander near the central square in the shadow-cursed shadow-cursed form, between the Reithwin Tollhouse and the Waning Moon, and attack the party on sight. If the party wander enough in such a battle, the cursed convoy (if present) may join the fight siding with the pack of shadow creatures guarding the statue, as described above.

Later on, the central fight with Oliver Oliver and his shadowy family takes place during the Lift the Shadow Curse⁠Lift the Shadow Curse quest.

Access to the sanctuary[edit section | visual editor]

Ketheric's statue in the central square of Reithwin

As the party approach the statue basement and circle around it, three DC 10 Perception Check DC 10 Perception Checks are made, each pointing to a different plaque on the outer sides. Interacting with the plaques on the statue prompts a seemingly gibberish piece of text to appear. However, if activated in the following order: northern, western, and lastly eastern one, the plaques form a poetic stanza which runs as:

“

OUR LADY OF LOSS
MISTRESS OF PAIN
WHEN NIGHT FALLS
THORM SHALL RISE

„


Upon doing this, the southern side of the basement moves down, opening a hidden staircase which leads down into the sanctuary.

Solving the riddle grants one or more of the following inspirations:

The Dark Lady's ritual[edit section | visual editor]

The sanctuary keeps the Shadow Curse at bay, and party members comment on this. Down the stairs stand three interactable statues of Shar.[2] Each statue offers a question and may provide a unique blessing of Shar Shar until the next Long Rest:

A DC 14 Saving Throw DC 14 Saving Throw for the corresponding Ability is required at each of the statues in order to receive the Dark Lady's blessing(s). Each blessing is given only once; it is not necessary for all three saving throws to be made by the same party member.

The following Classes have Advantage Advantage while rolling the checks against the statues and unique dialogue options:

  • Clerics Clerics have advantage on any roll, regardless of their chosen deity.[3]
  • Warlock Warlock characters get advantage to the Charisma check only, its line depending on the nature of their patron.[4]
“
A faerie chuckle echoes in the corners of your mind. Your patron knows a thing or two about turning people.
„
— Archfey Warlock's answer to the Charisma statue's request

Failing a saving throw instead results in a debuff condition which also lasts until the next Long Rest:

Also, upon a failed check as well as attacking any of the statues, three guardians appear: a Charismatic Sentinel Charismatic Sentinel, a Wise Sentinel Wise Sentinel and an Intelligent Sentinel Intelligent Sentinel, and a battle starts immediately. Until all Sentinels are defeated, the exit from the sanctuary is closed and locked.

Succeeding all three saving throws opens a door to a hidden chamber. Inside is an altar to Shar; interacting with it allows the party member to perform a blood sacrifice ritual to the goddess if a passive DC 10 Religion Check DC 10 Religion Check is succeeded.[5] Completing this ritual summons some scrolls and potions on two plinths to each side from the altar, as well as earns approval from Shadowheart.

Performing the ritual also grants the following inspirations:

The  Ritual Dagger of Shar is the only item in the hidden chamber, apart from the rewards for performing the rite. Stealing the dagger (regardless of whether the ritual is performed) triggers combat against the three aforementioned Sentinels of the sanctuary and grants one or more of the following inspirations:

Taking the dagger also yields disapproval from Shadowheart, unless she is the one picking it up.

Special Interactions for Shadowheart[edit section | visual editor]

While remaining loyal to Shar Shar, Shadowheart Shadowheart can bypass all three saving throws using a unique dialogue option which guarantees success. Shadowheart remains capable of bypassing the saving throws even if she respecs out of Sharran Cleric.

However, if Shadowheart interacts with the statues after freeing the Nightsong Nightsong, she has disadvantage on all saving throws against the statues. The dialogue lines in this case depend also on whether she has already discussed her past with the Nightsong in the party's campsite. This effect can be countered by having  Selûne's Spear of Night equipped for advantage, which cancels out both effects.

Creatures[edit section | visual editor]

Loot[edit section | visual editor]

Notes and References[edit section | visual editor]

  1. ↑ Convincing Kar'niss and his entourage to cast themselves unprotected to the shadows is only possible if the party initially sided with the Harpers.
  2. ↑ The text of the tablets at the each statue's pedestal is the same, written in Thorass alphabet Thorass alphabet. It may be translated as "Hear my words as they might be your last. Be careful". One of the tablets is placed upside down. The image of the plaques is generic and common for all such objects throughout the game. Thus, the tablets with the same inscription can be seen, for example, near the frescos in the Inner Sanctum in Act One.
  3. ↑ This applies even to Clerics of Selûne Selûne, but does not apply to Shadowheart Shadowheart if attempted after she abandons Shar Shar in the Shadowfell.
  4. ↑ The Hexblade Subclass was added in Patch 8 and thus does not have a unique line.
  5. ↑ Shadowheart succeeds automatically regardless of whether she remains loyal to Shar or rejected her.