Ad placeholder
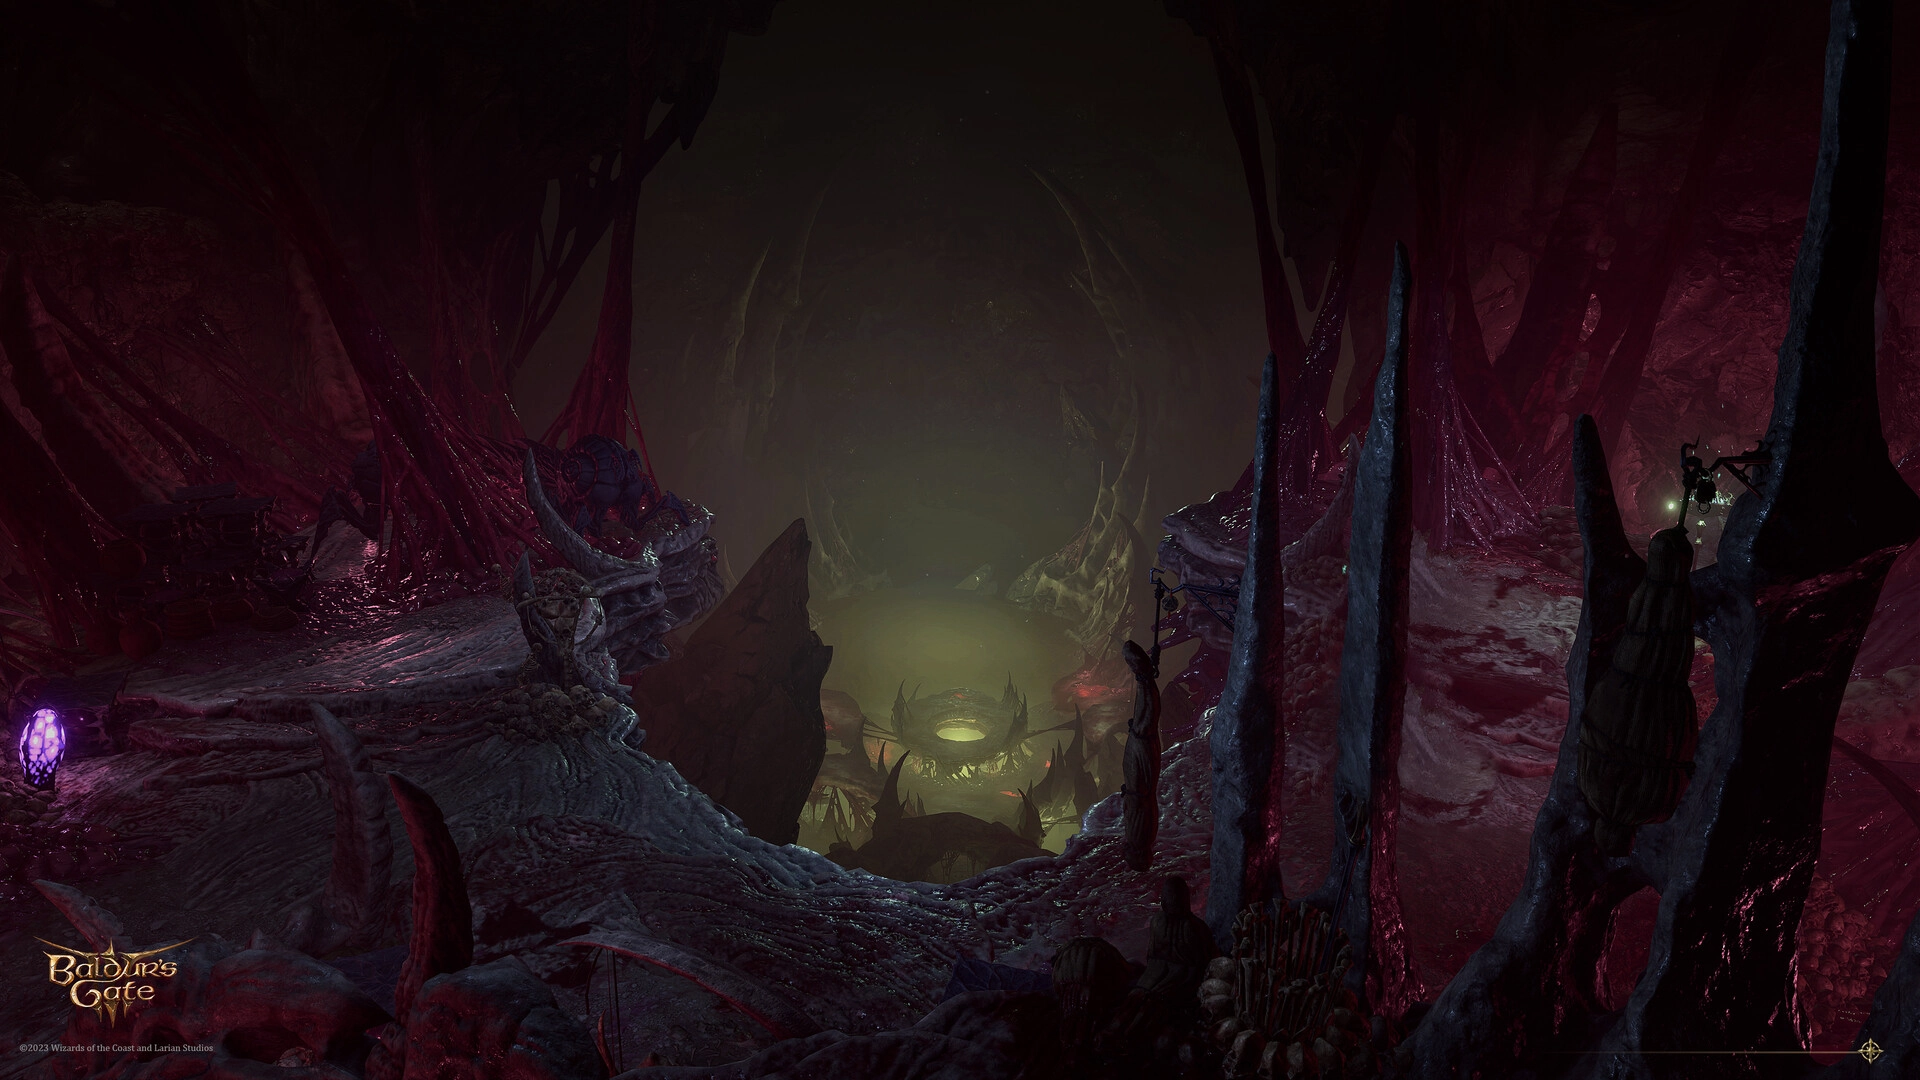
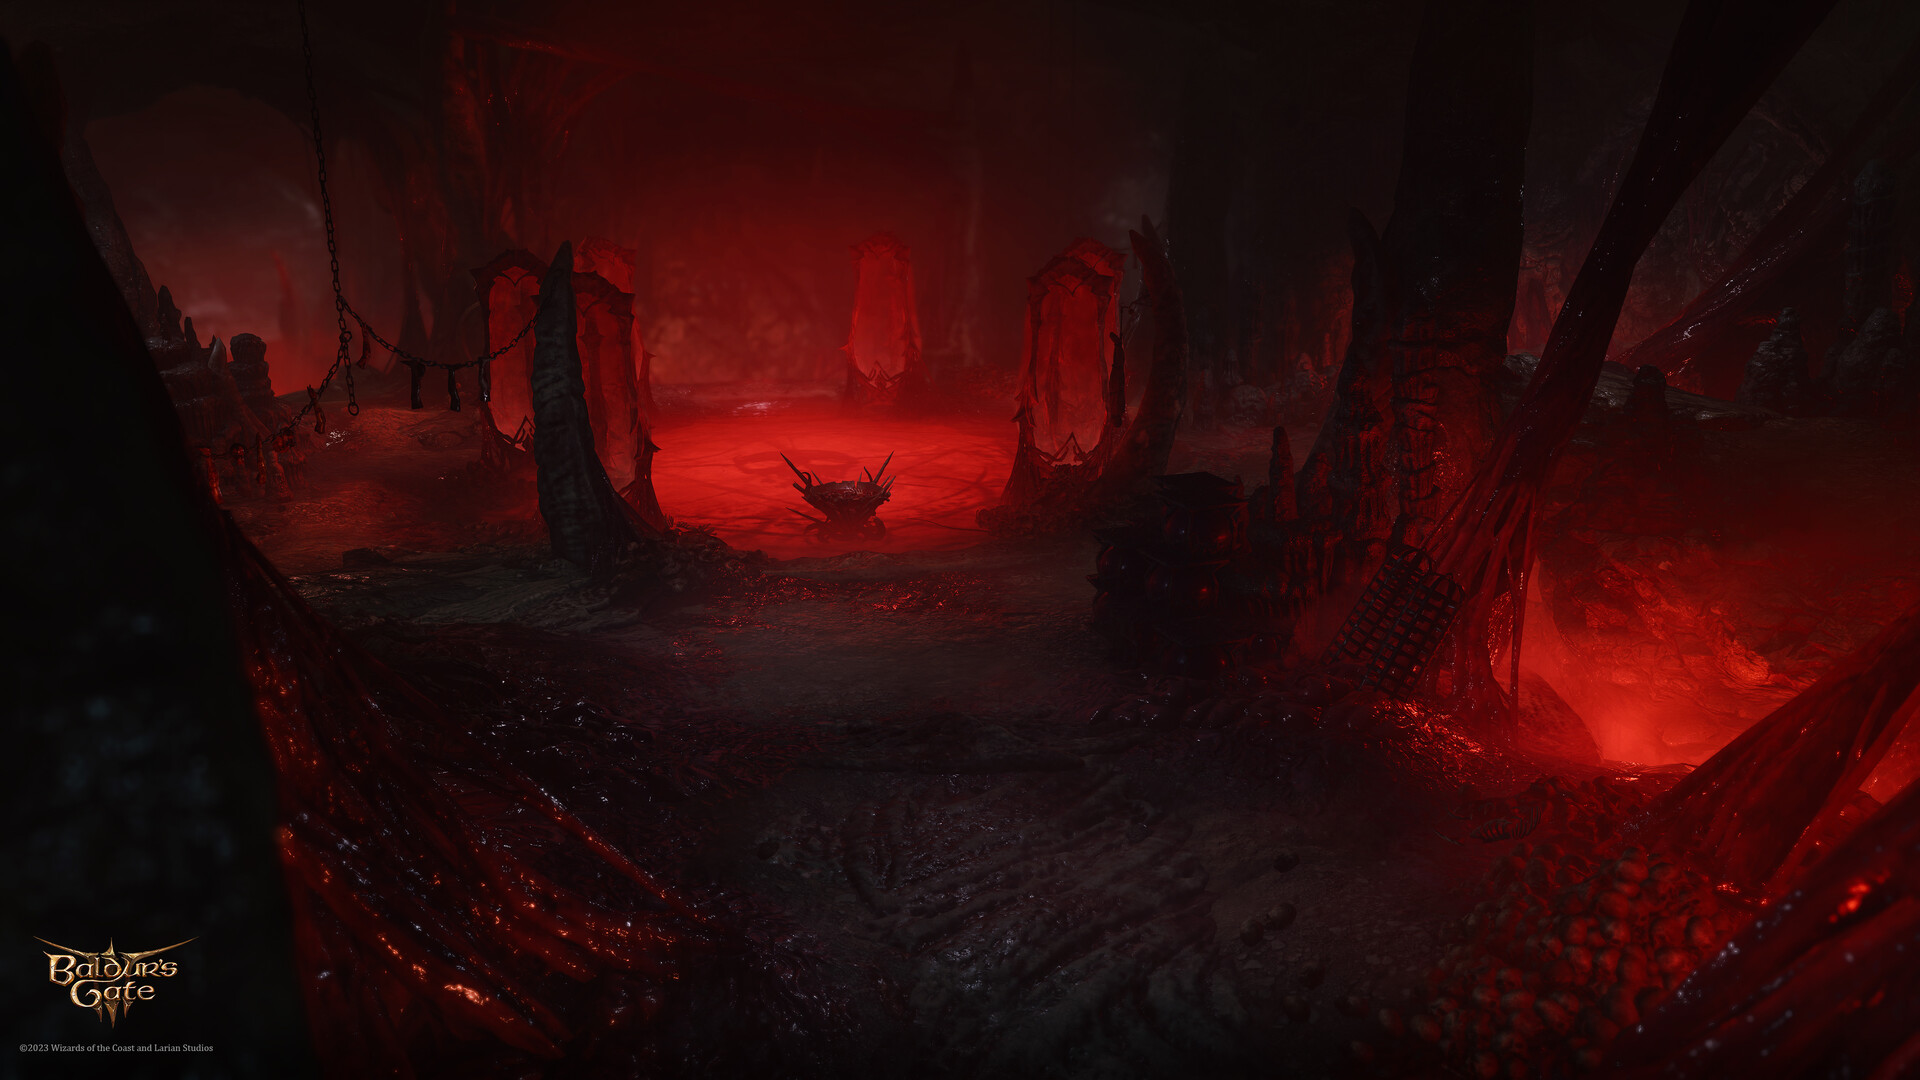
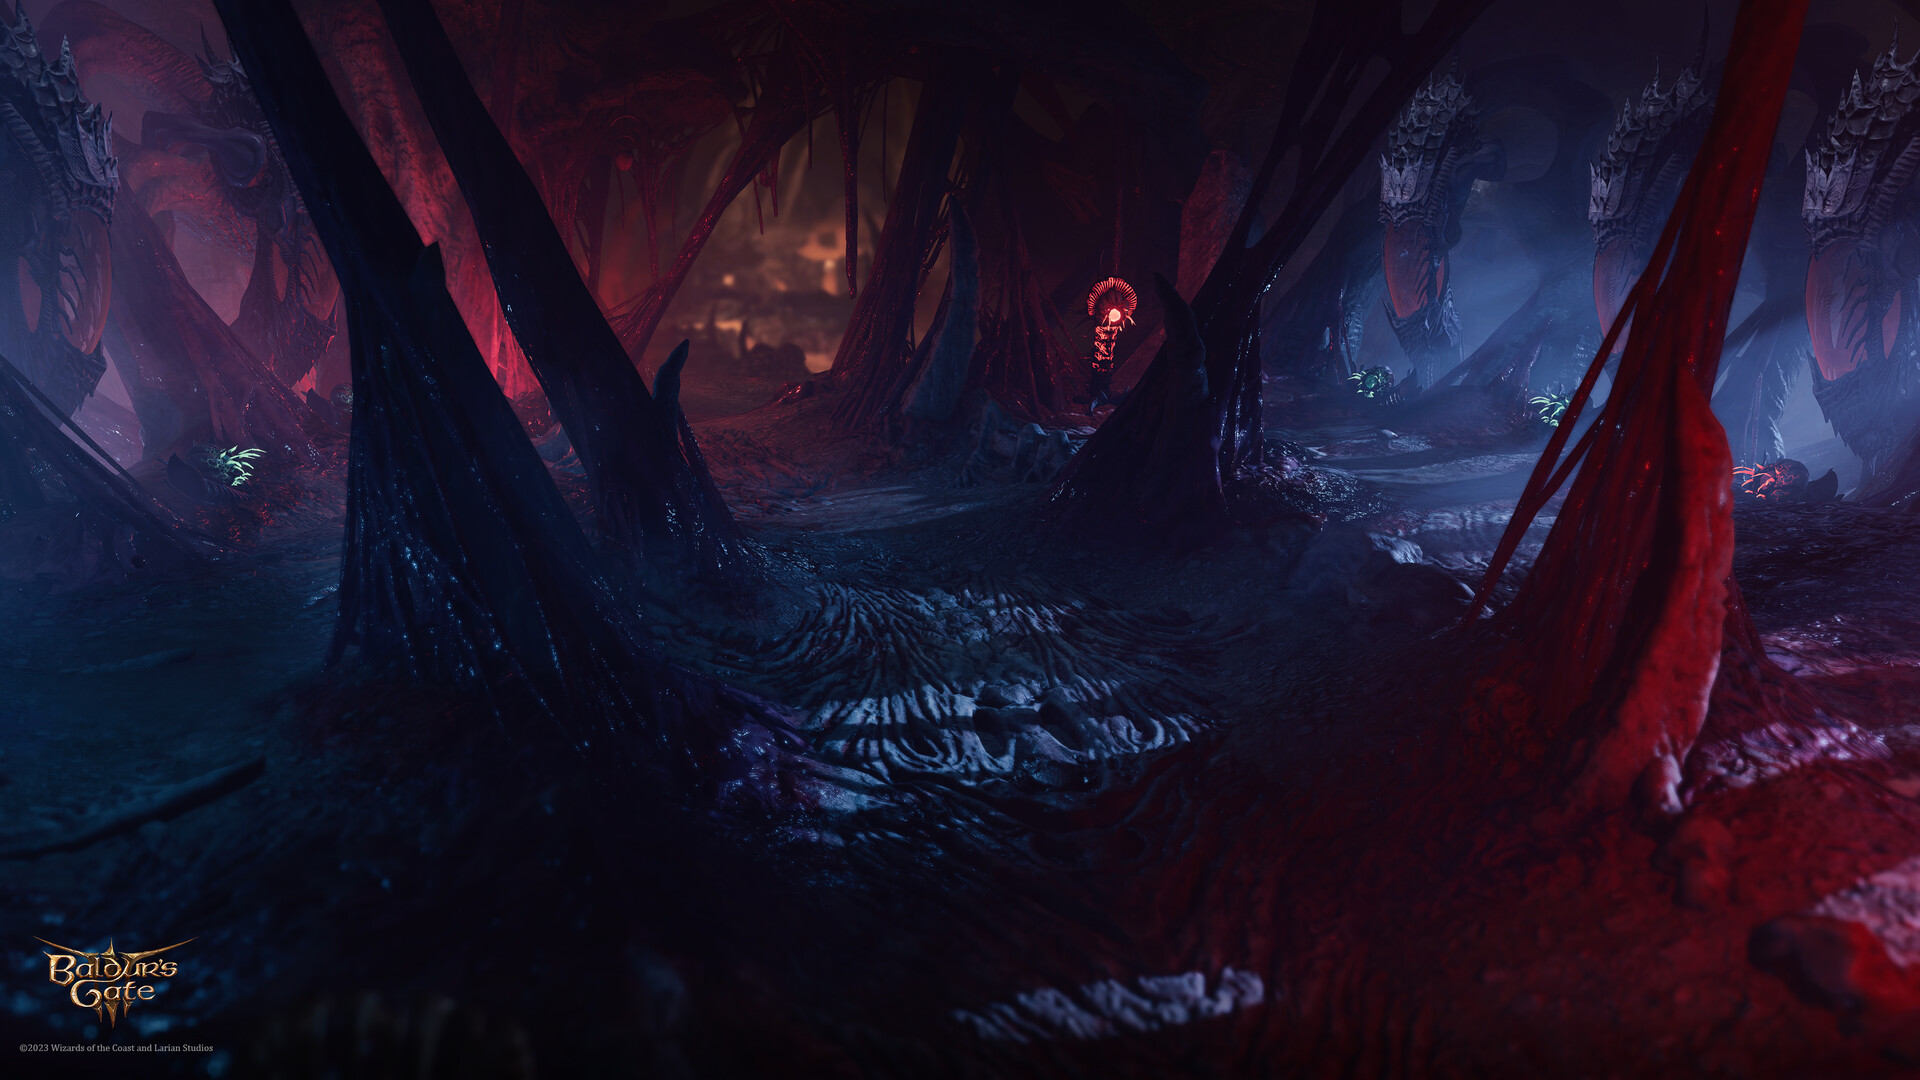
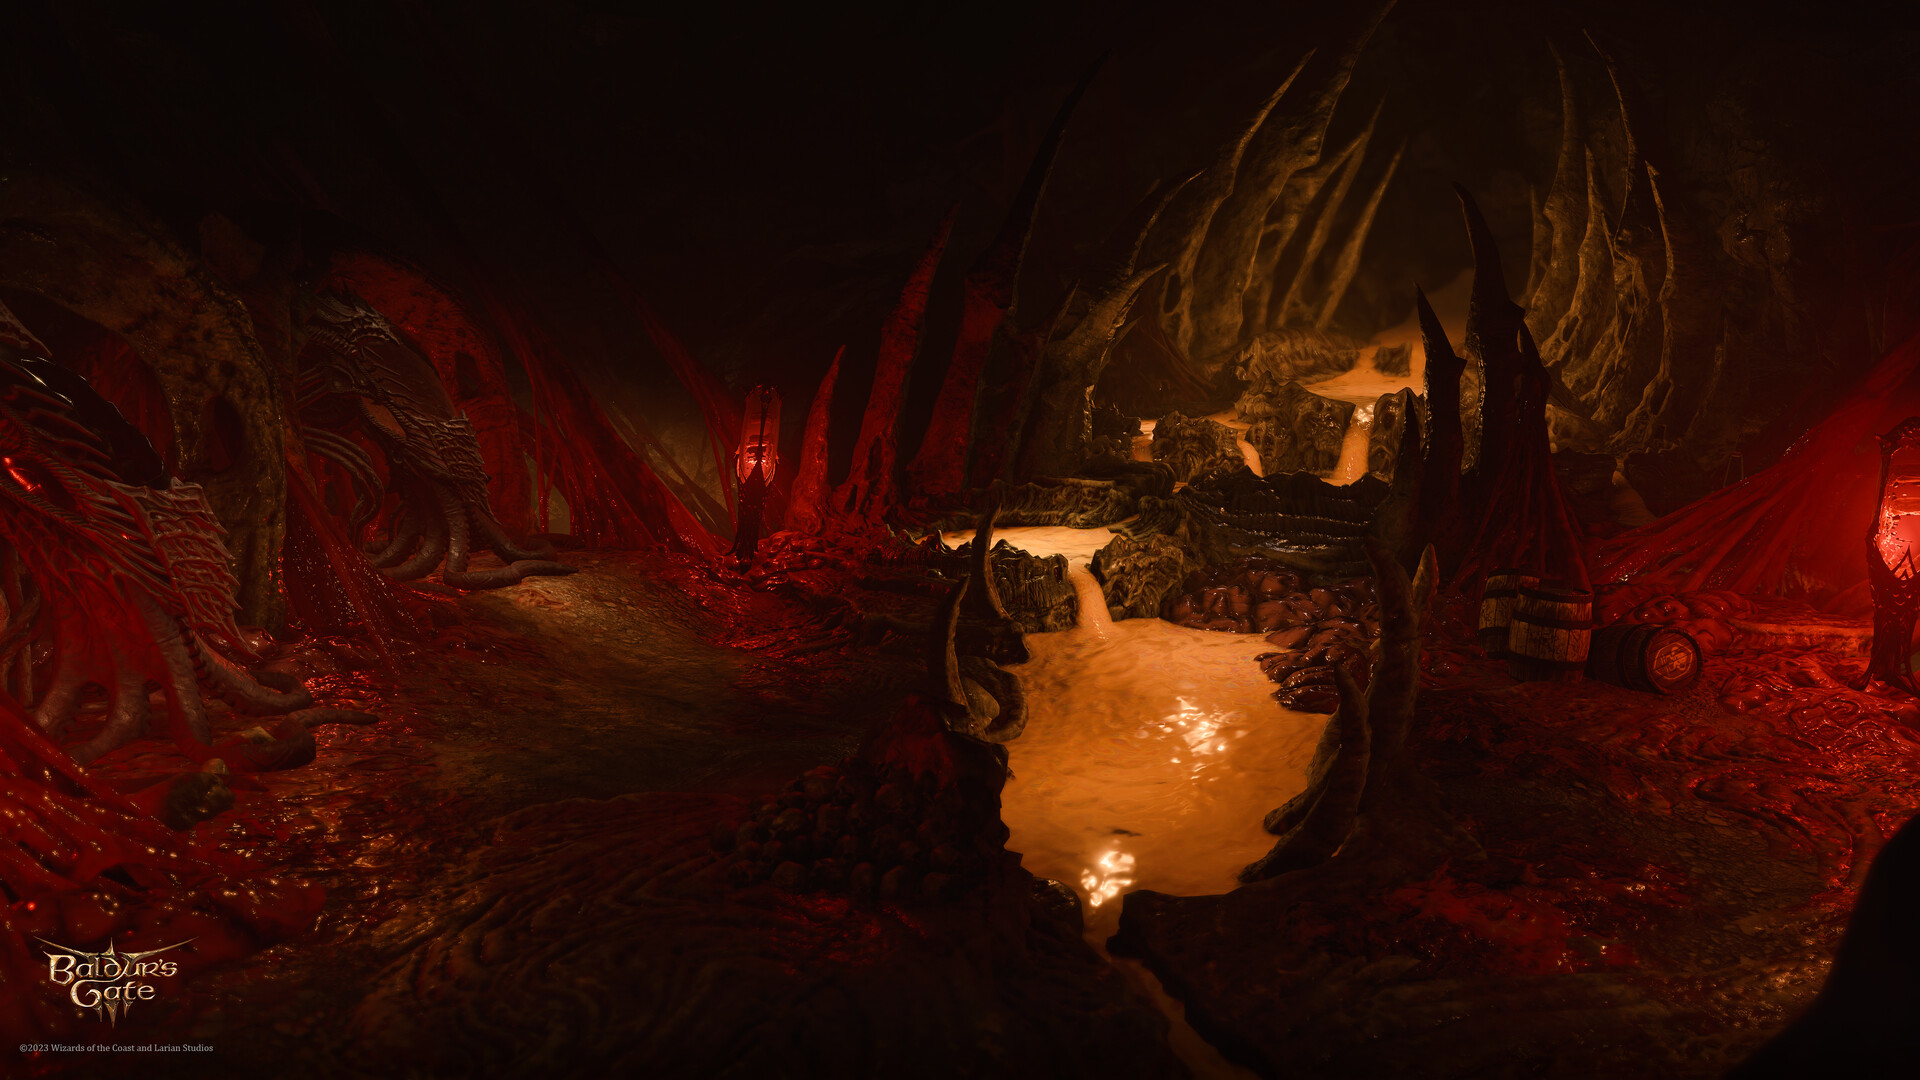
Mind Flayer Colony


Access[edit section | visual editor]
This area is accessed by jumping down into a tower after the fight against 
While inside the Mind Flayer Colony, the party cannot fast-travel or go to camp.
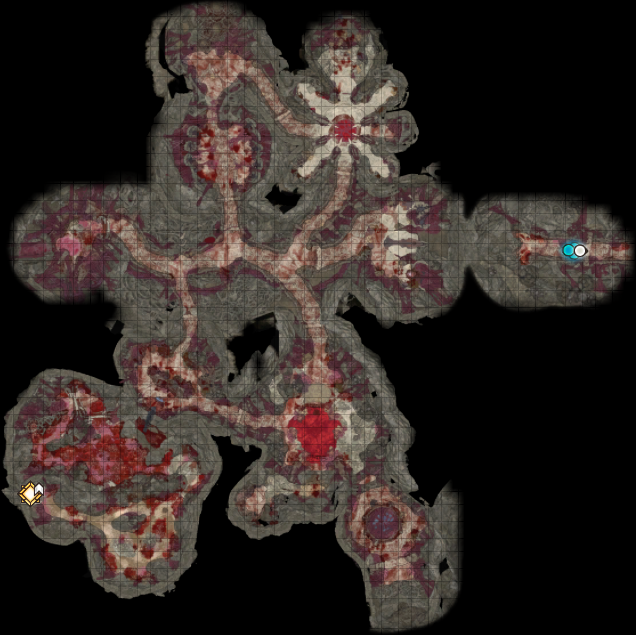
Points of interest[edit section | visual editor]
Morgue[edit section | visual editor]

The morgue is run by 

If not killed on the Nautiloid, 

![]()
If a party member threatens to kill Chop, he responds as though he wants them to. Despite this, attacking still makes him and the surrounding intellect devourers (except for Us) hostile. Nonetheless, as he is killed, Chop comments that he is "free at last". The intellect devourers outside of the morgue remain neutral.
There is also a mechanical device called Touch, which controls the pipe that transports corpses. Upon the first interaction, the pipe drops a corpse, on which ![]()
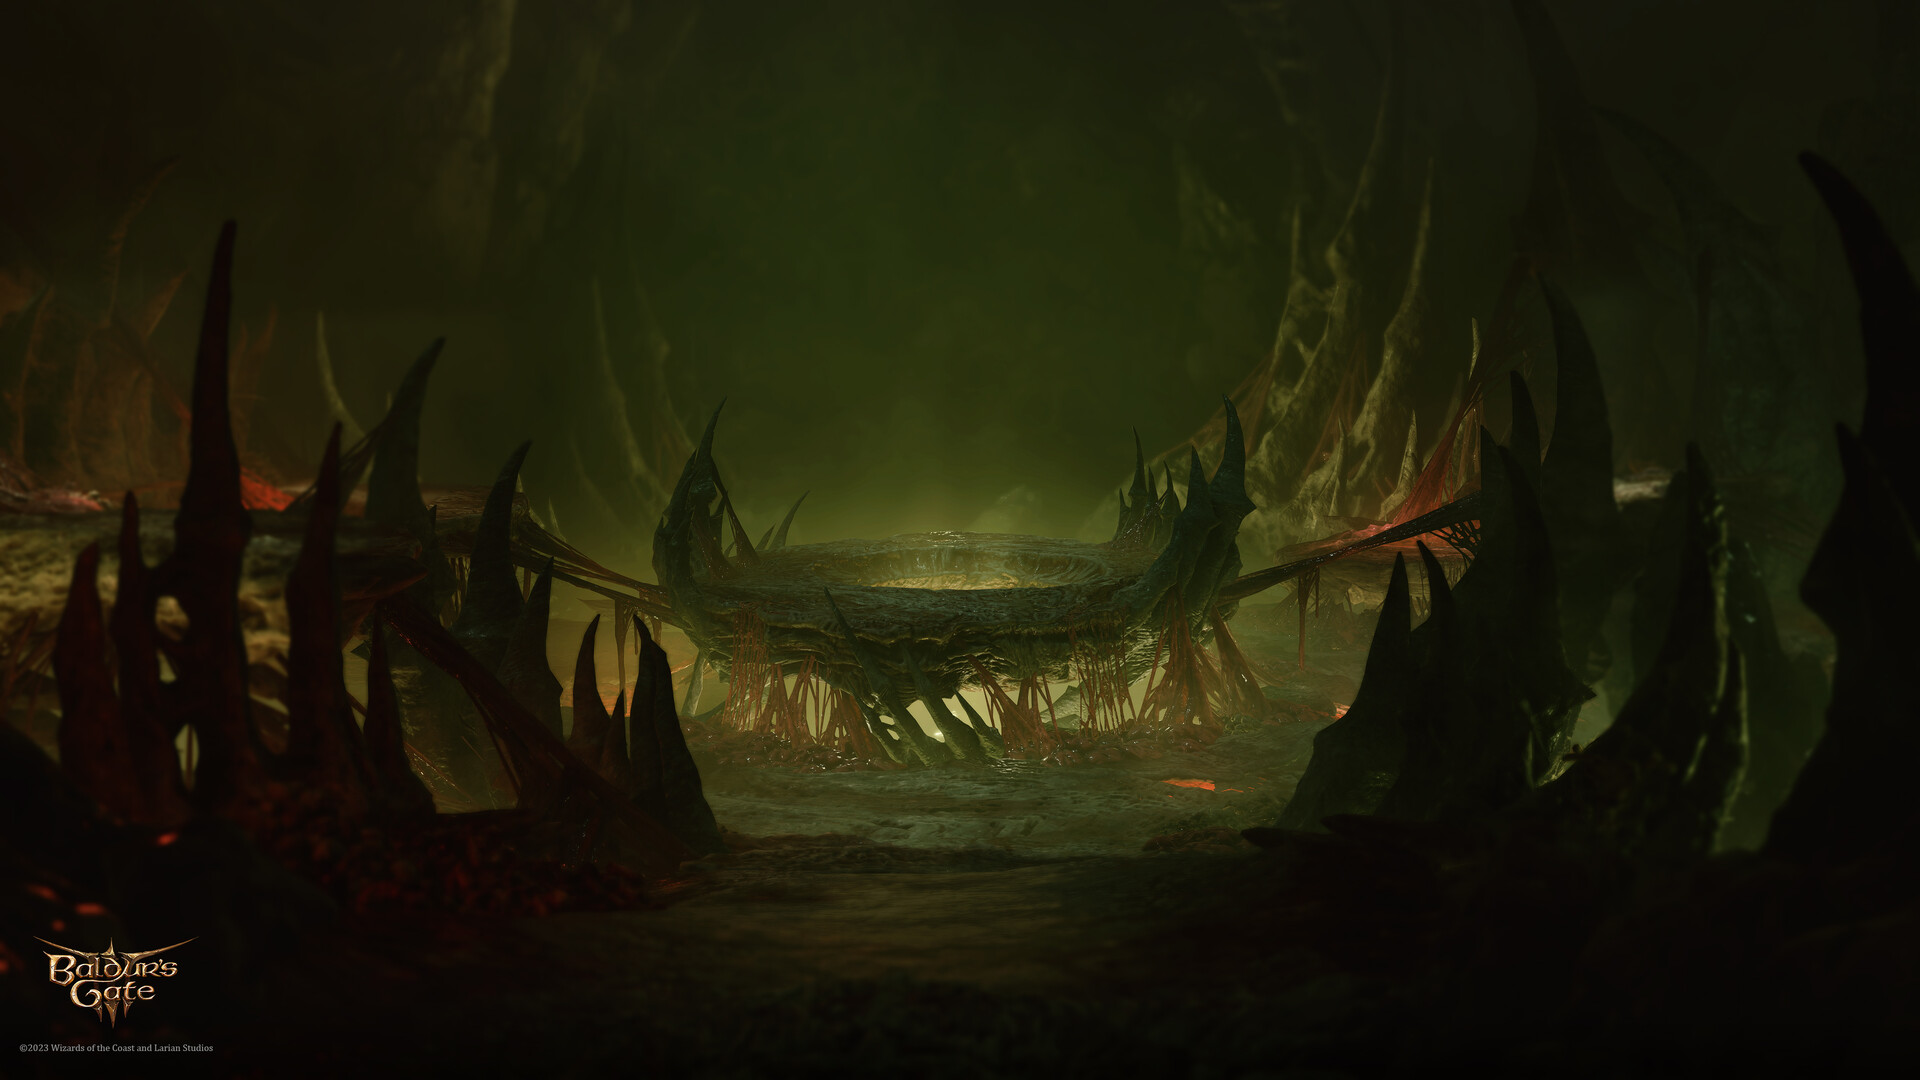
Necrotic laboratory[edit section | visual editor]

Balthazar's laboratory is in the south-east of the map, at X: 715 Y: -49. Upon entering the area, a battle with a large number of undead commences, including a 


Further southeast is a Brain Mapping Puzzle, consisting of four mental faculties (Emotion, Speech, Memory, and Reason). To solve this puzzle, each mental faculty must be connected to its identical matching faculty on the far side of the puzzle by selecting intervening nodes. Successfully solving the puzzle grants the ![]()
![]()
![]()
![]()
![]()
![]()
The Mind-Archive Interface at X: 699 Y: -117 allows the party to talk to the minds inside the brain jars scattered across the area via the Slack-Skinned Head.
- The

- Dialogue with the
- The
![]()
![]()
Tadpoling centre[edit section | visual editor]

The Tadpoling Centre is a roughly-round room filled with Mind Flayer Pods; some contain non-hostile humanoid characters, including 
![]()
If a party member purges the pods, Zevlor and all others in the pods die; if they are opened, the party must fight several mind flayers and intellect devourers (though the newly-freed characters fight alongside the party, providing significant aid.)
Zevlor and the other survivors might turn hostile if they are damaged by the party, including via spell AOE effects such as ![]()
![]()
Brine Pools room[edit section | visual editor]

In the next area (Brine pools room), 
![]()
Mizora's pod has its own controls. The left is 'annihilate', the right is 'unleash'; each requires ![]()
Interacting with the brine pool near Mizora (![]()
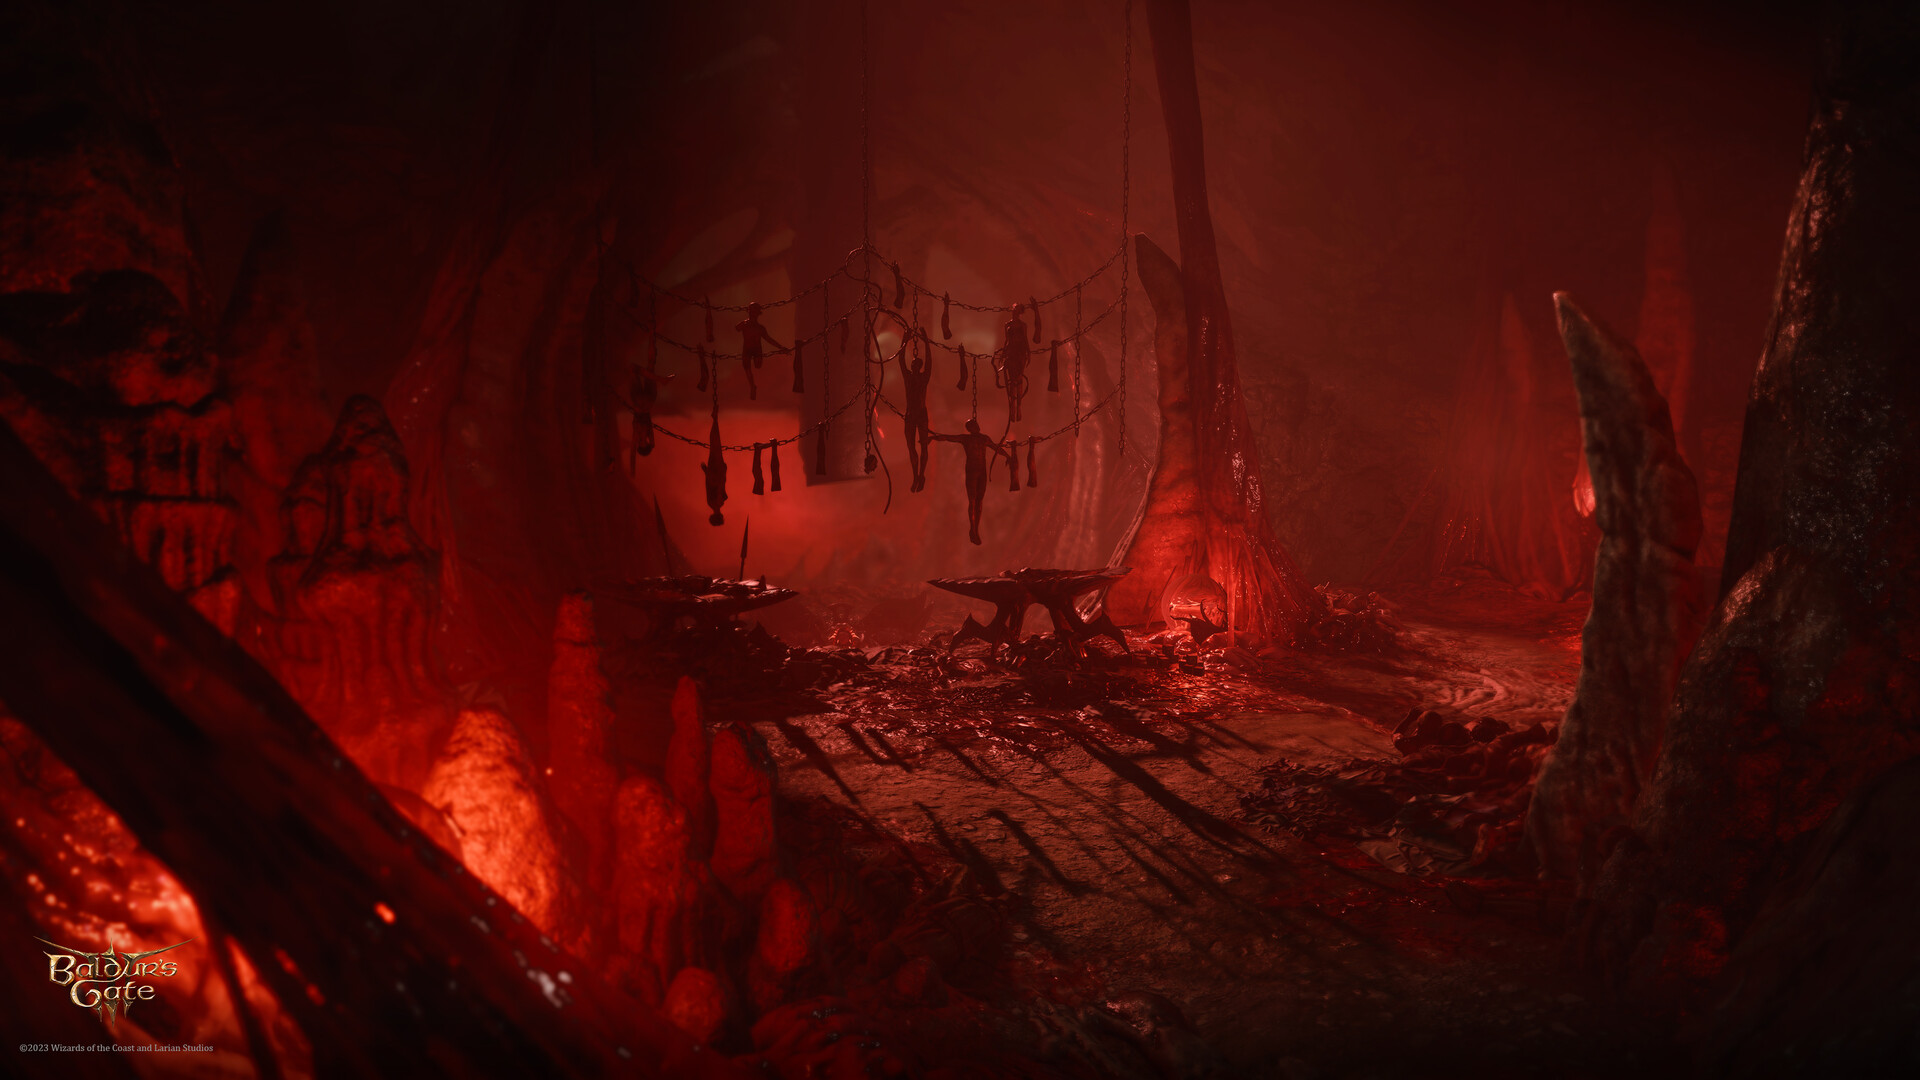
Barracks[edit section | visual editor]
In the north-eastern corner of the colony are the barracks, where the party can meet 
![]()
Kressa recognises The Dark Urge, if they are present and undisguised, and recalls their time spent under her 'care' in the colony. While it is revealing, this conversation inevitably leads to combat.
In the chambers are also several notes that can shed light on The Dark Urge.
Advance to Ketheric Thorm[edit section | visual editor]
To complete ![]()
Upon descending, a cutscene is triggered, wherein the party can watch 


Proceeding down the lift also grants the ![]()
Fight with Ketheric[edit section | visual editor]

Ketheric may also be accompanied by his daughter 

![]()
![]()
Otherwise, when the second fight with Ketheric starts, he begins by calling on ![]()

![]()
After the battle, several cutscenes are triggered. A portal then opens which allows the party to return to the ground floor of Moonrise Towers, where they can speak with some of the characters met in the Shadow-Cursed Lands before heading west to Baldur's Gate. It is also possible to travel to the Last Light Inn and talk with the remaining characters there.
Related locations[edit section | visual editor]
Related quests[edit section | visual editor]
Characters[edit section | visual editor]


Available to Speak with Dead[edit section | visual editor]

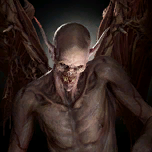
Creatures[edit section | visual editor]


Loot[edit section | visual editor]
Notable items obtained in this location, whether looted, purchased, or obtained as a quest reward:
Quest items[edit section | visual editor]
Other[edit section | visual editor]
Notes and references[edit section | visual editor]
- ↑ It is possible to overhear Chop from the Oubliette, suggesting that the Morgue and Oubliette share a wall. However, the Mind Flayer Colony cannot be accessed until the end of Act Two, and the player character notes aloud there is no way through.
- ↑ If any creatures here are sneak attacked or defeated prior to interacting with Ketheric Thorm, he cannot be reasoned with and a fight begins as normal.
- ↑ The eypatch is in the necrotic laboratory at X: 693 Y: -111, it progresses

- ↑ The netherstone can be looted from Ketheric Thorm, it progresses
- ↑ This rapier is given by Mizora as a reward for freeing her from the Mindlfayer Pod, it progresses
- ↑ This sword can be obtained in the Necrotic Laboratory after solving the brain puzzle.
- ↑ These gloves can be looted from a skeleton near the Necrotic Laboratory at X: 748 Y: -141.
- ↑ This circlet can be looted from a skeleton in the Necrotic Laboratory at X: 748 Y: -141.
- ↑ This shield can be looted from Ketheric Thorm.
- ↑ This warhammer can be looted from Ketheric Thorm.
- ↑ This armour can be looted from Ketheric Thorm.
- ↑ This scourge can be looted from Kressa Bonedaughter.
- ↑ This item can be obtained after freeing Us from the cage in ther morgue.
- ↑ This item is in Balthazar's necrotic laboratory.
- ↑ This item can be obtained in the Necrotic Laboratory after solving the brain puzzle.