Ad placeholder
Bhaal Temple

| Undercity | ||||
| Undercity Ruins | ← | Bhaal Temple | ||

“Gods, who knew such a vile abcess lurked in the bedrock of the city. The very stone reeks of misery and despair.„
Overview[edit section | visual editor]

Bhaal Temple is located deep under the city of Baldur's Gate, in the northeastern part of the Undercity Ruins. As such, it is accessible only through the Lower City Sewers and past the ruins itself.
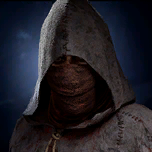
The temple is the innermost sanctum to the followers of the Cult of ![]()

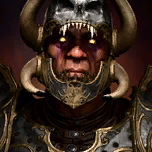
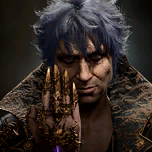
Currently the Cult of Bhaal is headed by 

Access[edit section | visual editor]
A large stone door prevents access to the temple and can only be opened with the ![]()
![]()
The 
When the doors to the temple are unsealed, one or more of the following inspirations is granted:


While inside the temple the party cannot fast travel or go to camp.
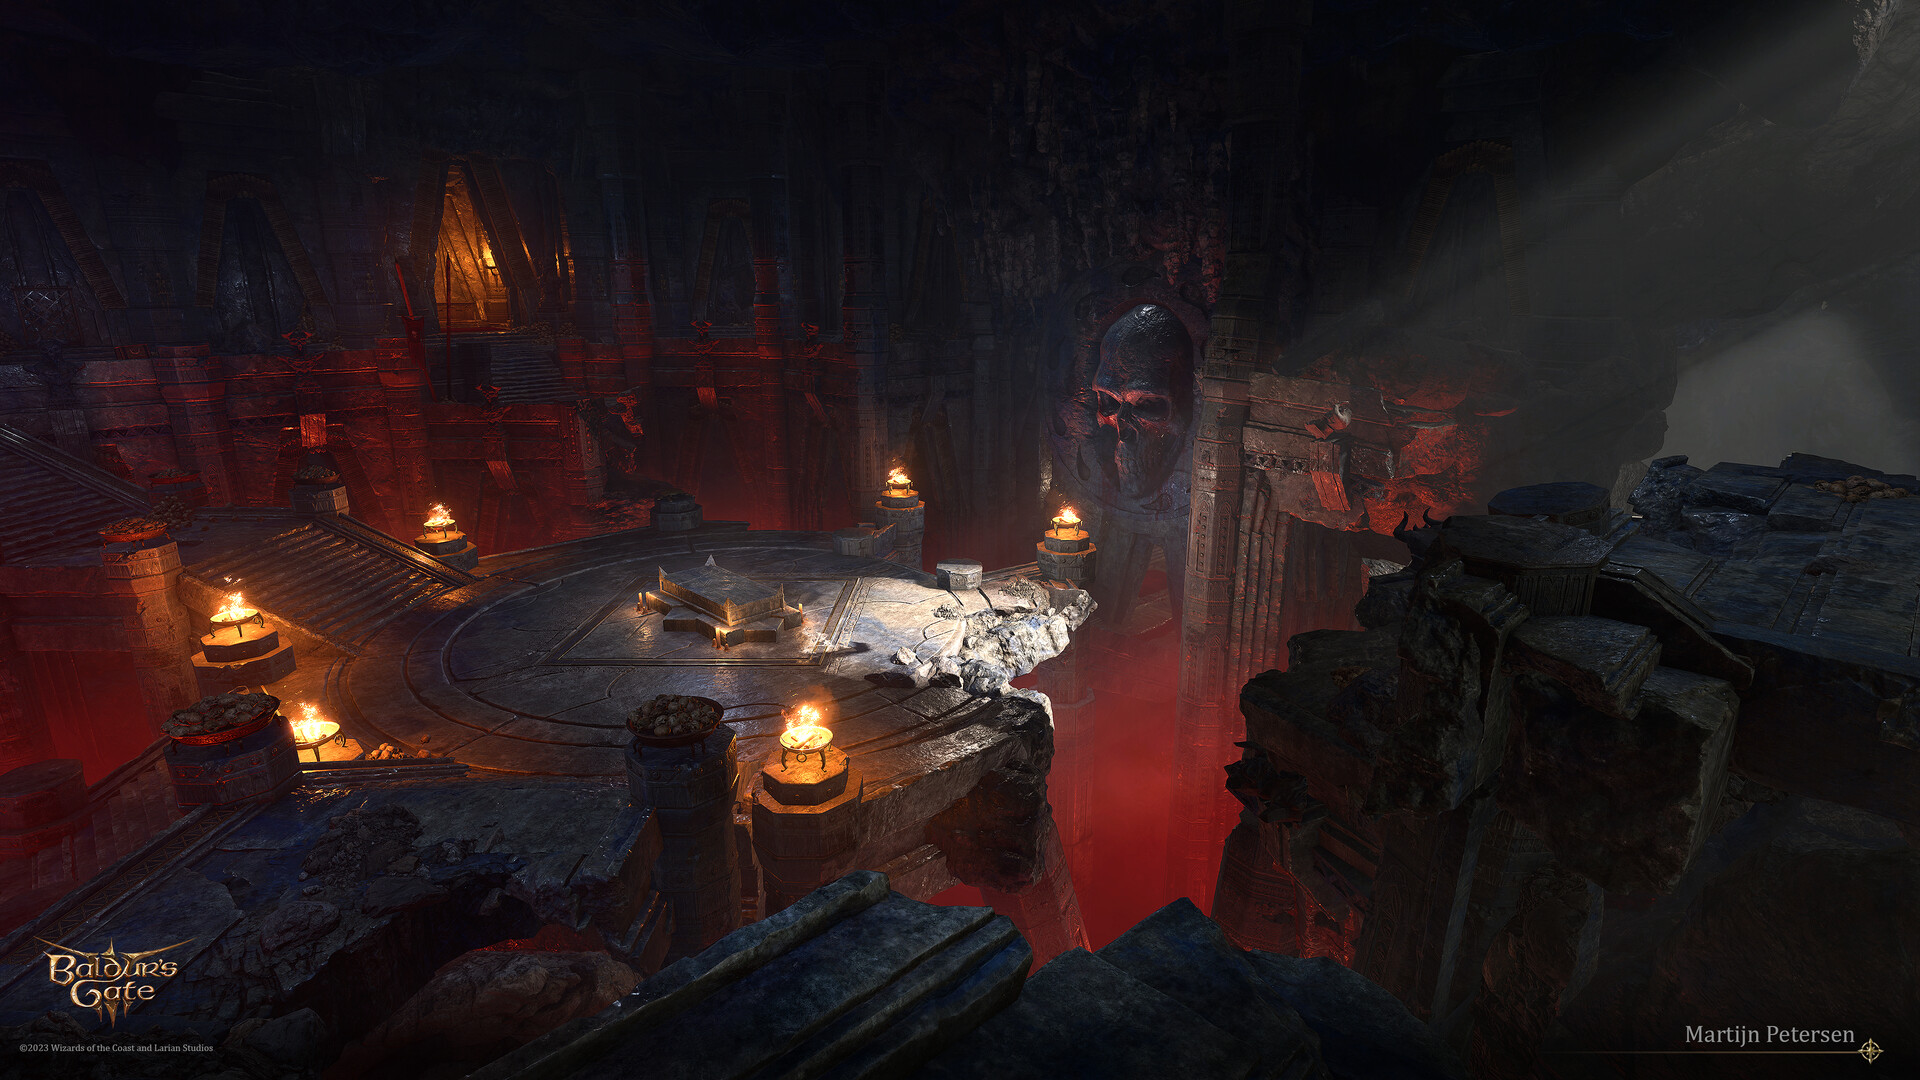
Temple layout[edit section | visual editor]

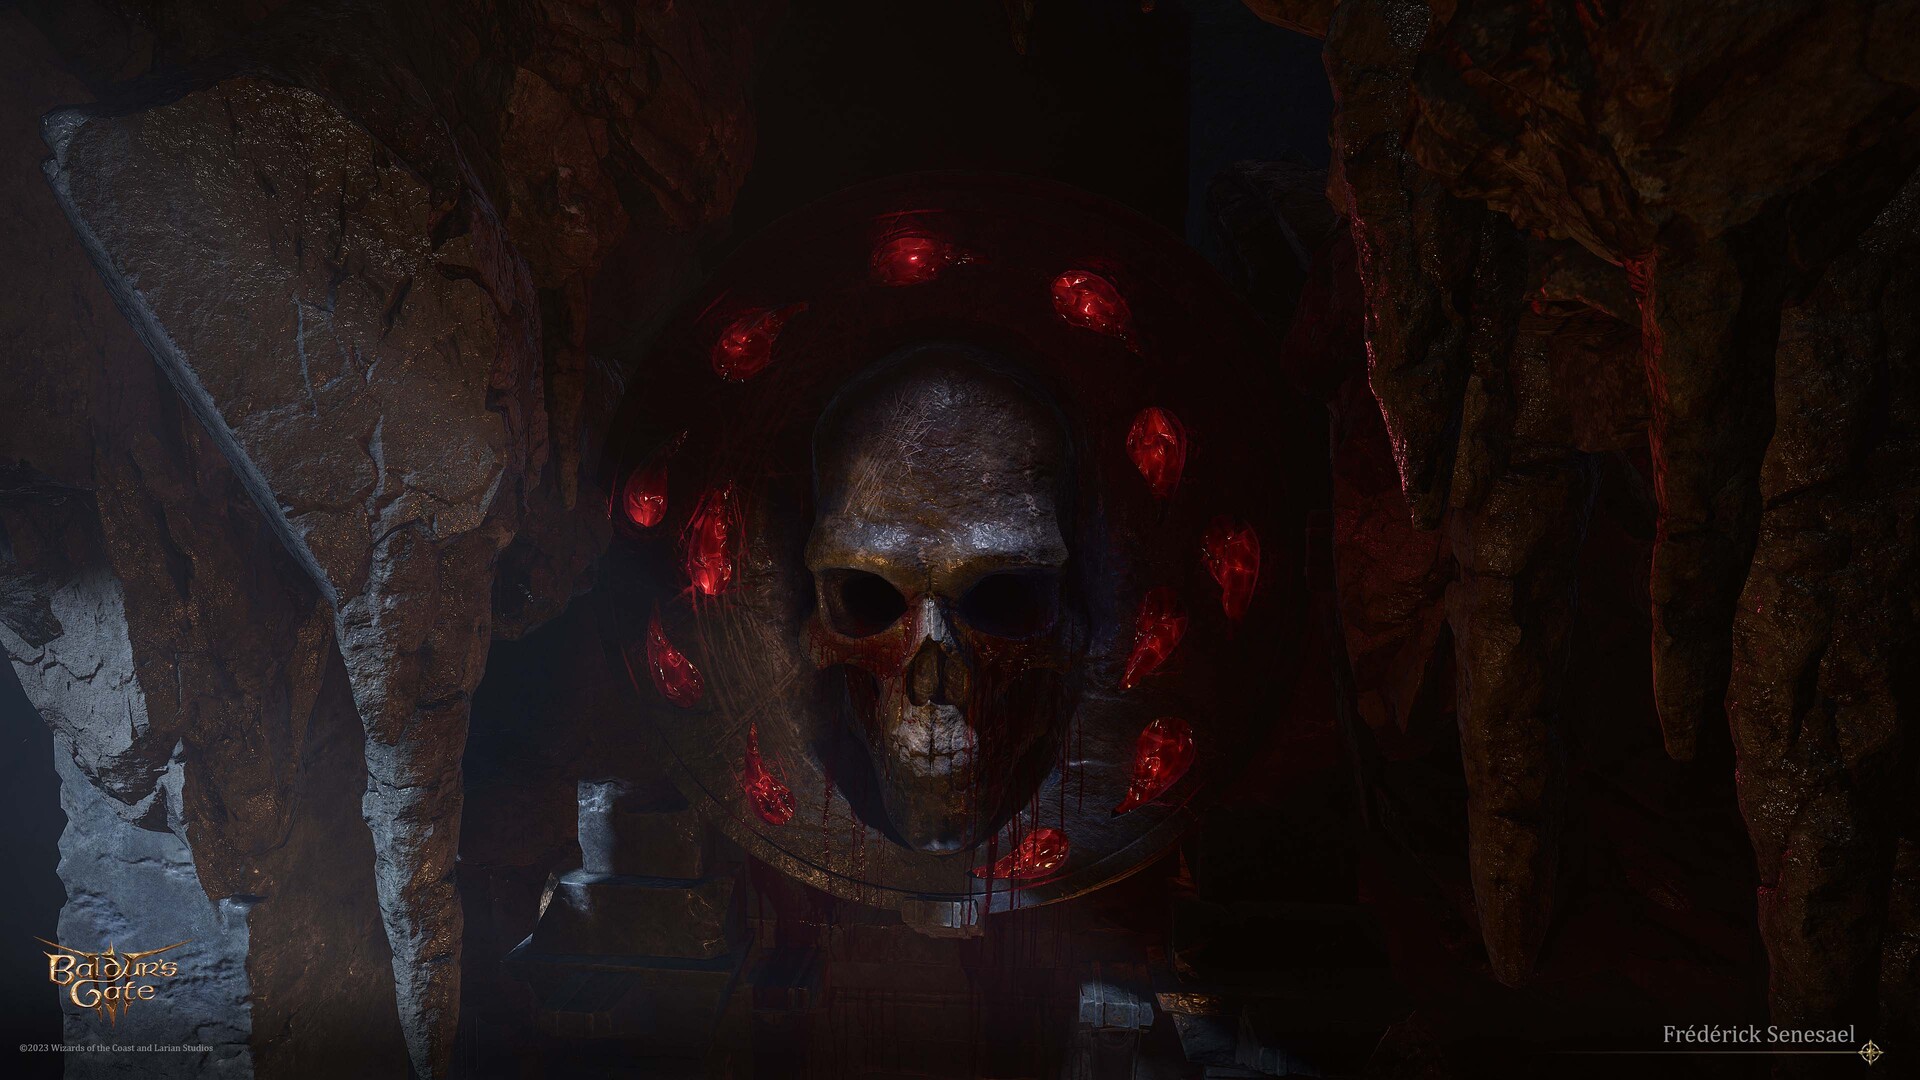
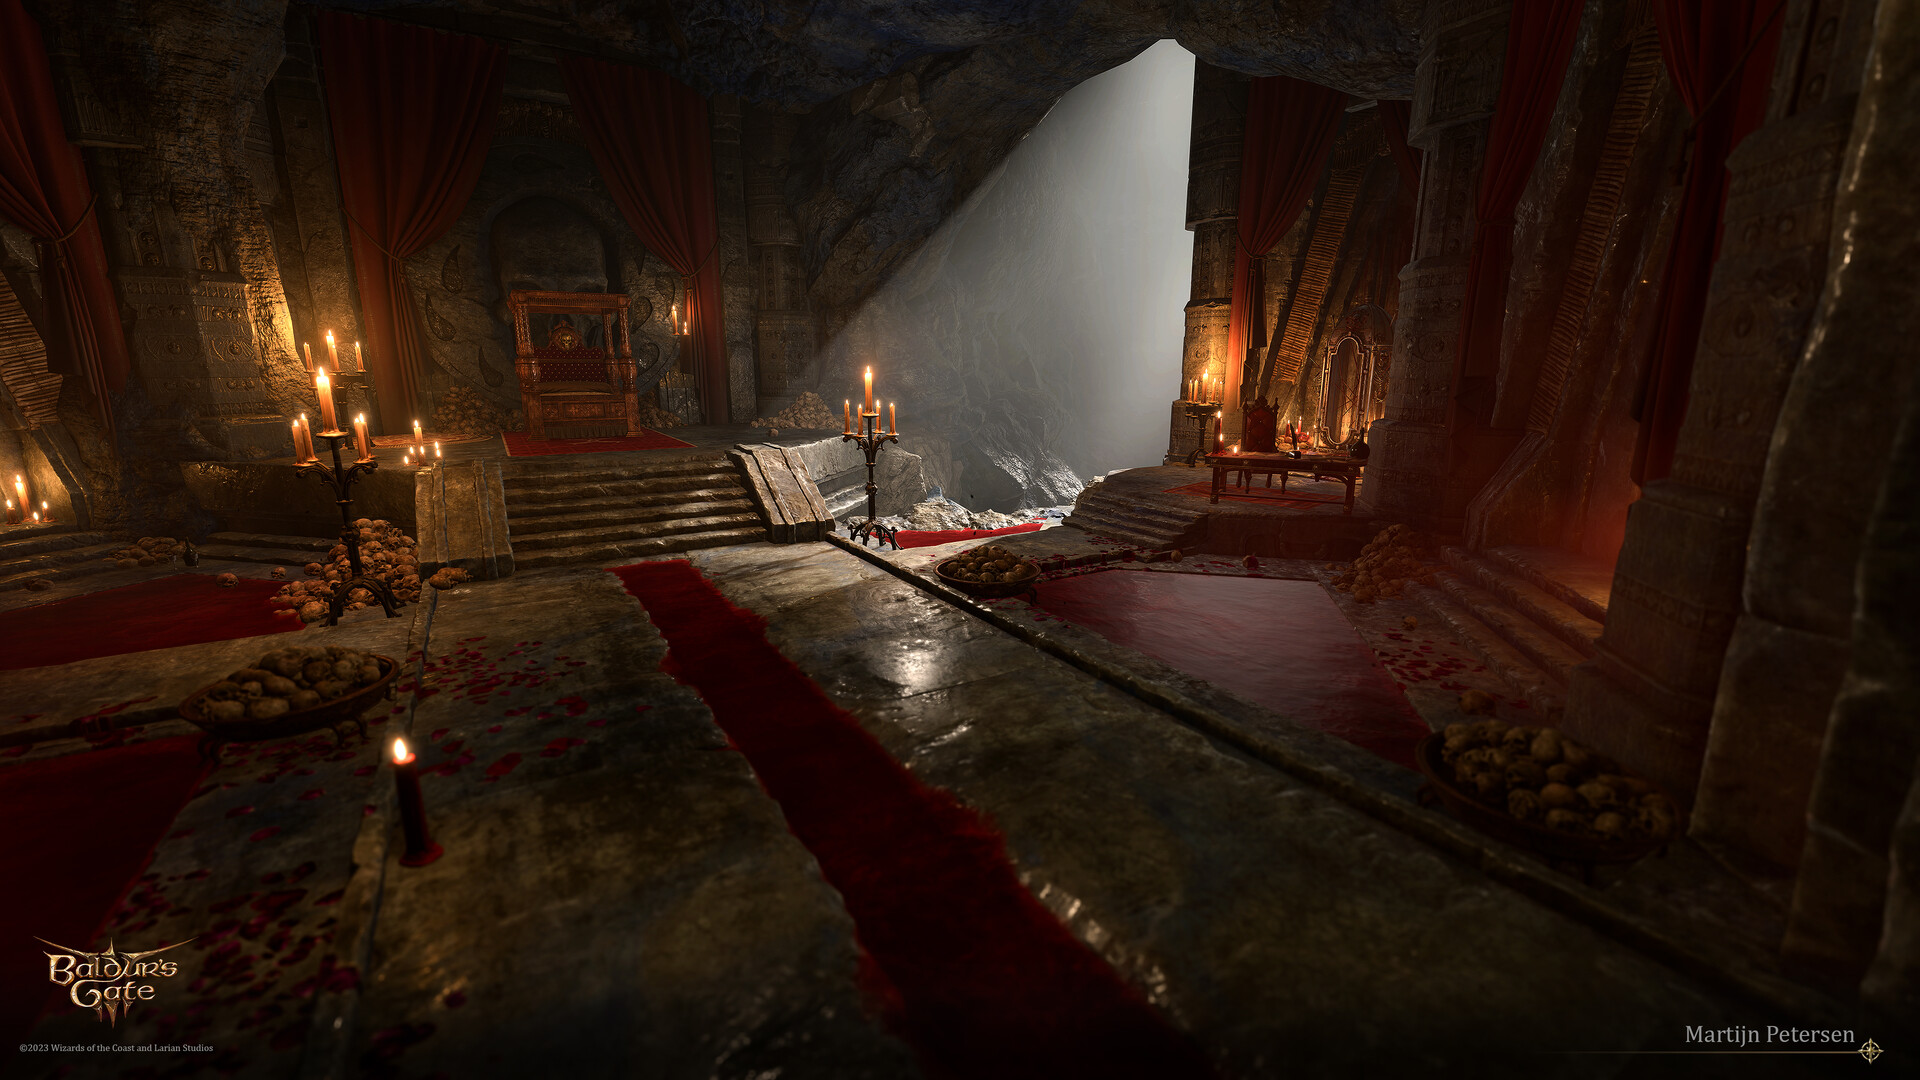
(by Frédérick Senesael)
The temple grounds consist of the outer perch with several alcoves along it. From the perch, three wide stairs lead down to the centre, where is the round platform with an altar in the middle (one of the stairs is destroyed).
On the cavern wall above the altar a colossal bas-relief depiction of Bhaal's symbol is chiselled in stone. It takes a special part in the party's confrontation with Orin (see Involvement section). Another stone stairway from the altar leads down and into the archway beneath the symbol. Following it, the party can reach the Chosen's Room – the private chambers of the cult leader.
Outer perch[edit section | visual editor]
The Bhaal Temple consists of a large main area with a forked higher ground. This surrounds a lower situated platform upon which the Altar of Bhaal rests. The upper area has alcoves with bodies on display. The alcoves located in the northwestern corner at X: 35 Y: 1035 and the one in the southwestern corner at X: 35 Y: 976 both potentially contain up to two corpses of characters who Orin impersonated in Rivington during the current playthrough. Her potential victims are:


On the northern side around X: 43 Y: 1032 is a stack of scrolls with a plaque leaned against which calls it "A Lending Library". Interacting with it prompts a comment from the Narrator. The stack contains only one item, ![]()
One more alcove behind the library contains the skeleton of Manip Antyra Thorpe, executed by the cult for interfering in their activity in the city.
In the northernmost side of the perch at X: 75 Y: 1032 is a hidden passageway which allows access to the Chosen's Room without going through the altar (and the potential fight). This allows the party to explore Orin's chambers before confronting her, giving additional options in that dialogue.
Descending either of the extant stairways brings the party to the altar of Bhaal.
Altar ground[edit section | visual editor]
Situated at X: 59 Y: 1007, the altar of Bhaal is at the center of the platform where Orin and her retinue of several cultists are waiting for the party to arrive. Orin's victim – if there is one –} is chained to the altar. The Altar itself can be opened using the ![]()

![]()
The main events concerning the ![]()
![]()
![]()
- Whether the player character is the

- Whether the party promised Orin to kill

- Whether the party managed to find out the proof of Orin's incestous lineage while exploring the Murder Tribunal chambers or the temple itself
- Whether the party managed to free the victim unnoticed by Orin

Further details on the consequences of each of these decisions are described in the Involvement section.
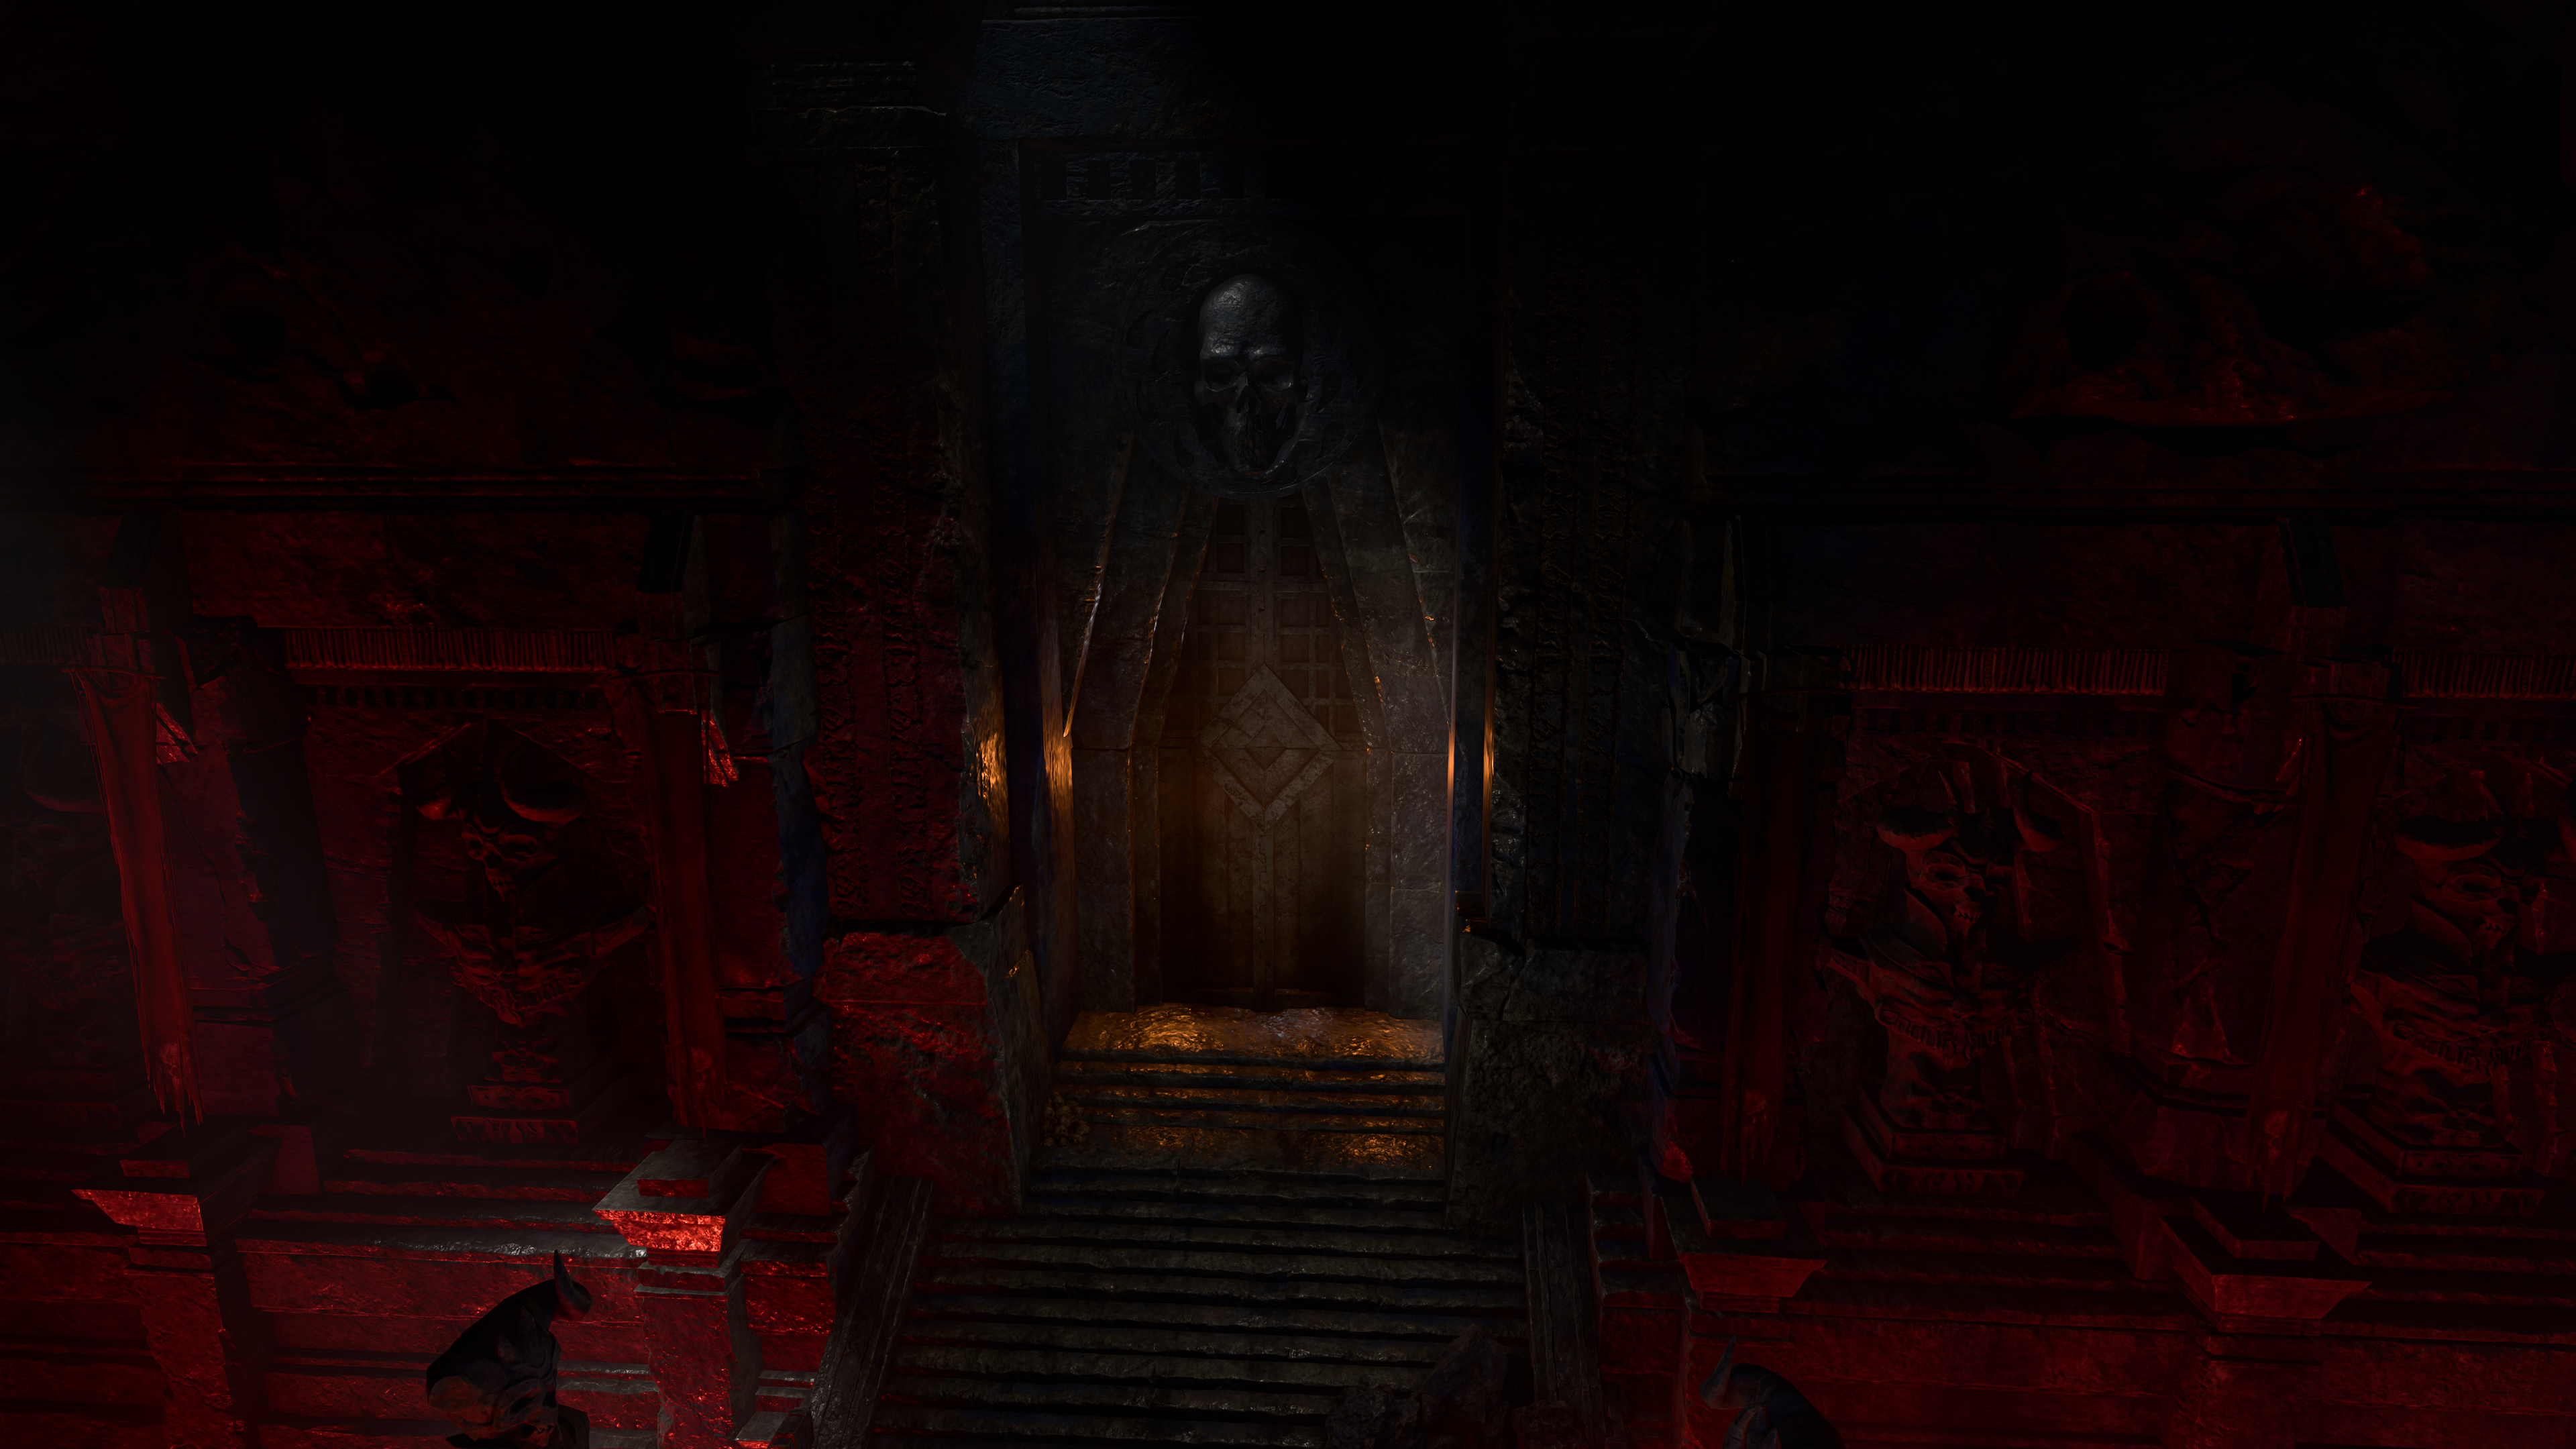
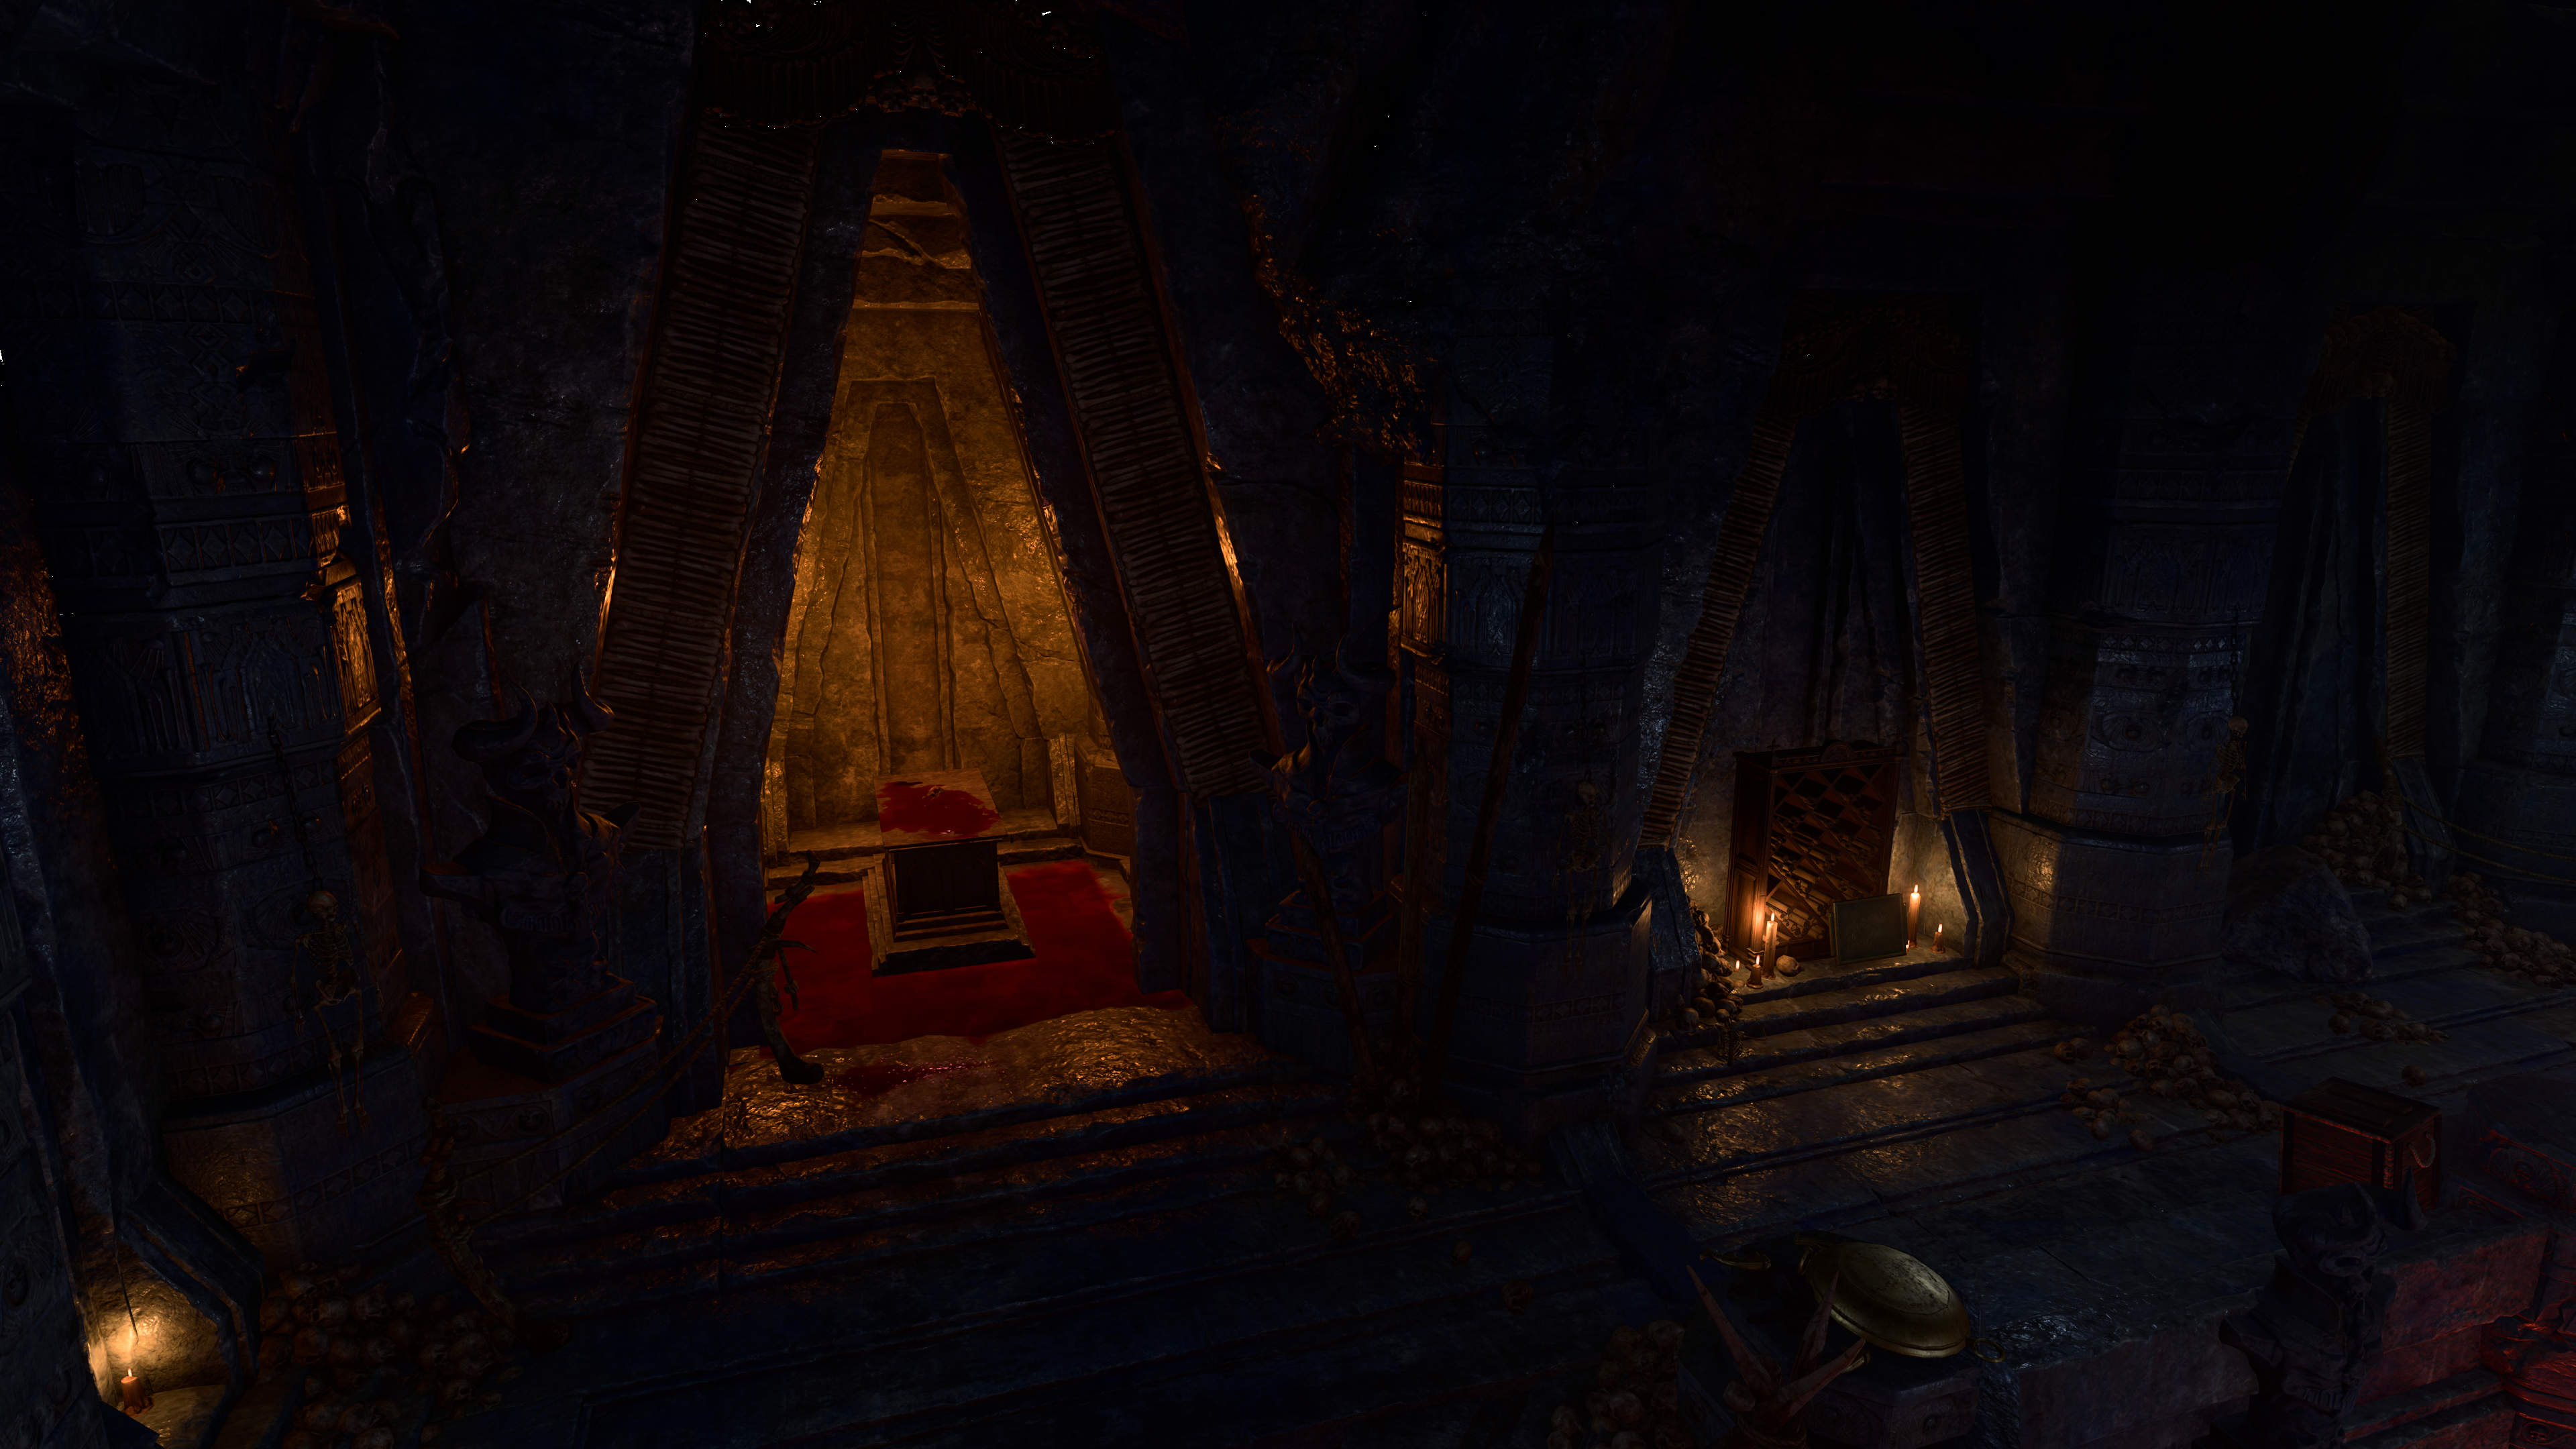
The Chosen's Room[edit section | visual editor]

(by Martijn Petersen)
A stairway behind the altar leads to the Chosen's Room, which serves as Orin's private quarters. It can alternatively be entered from the north side of the upper area, avoiding the altar, the entrance is around X: 75 Y: 1032. Three cultists guarding the room pay no attention if the party explore it, even if they ferret about Orin's chest or interrogate corpses nearby.[5]
In the northern part of the room is Orin's office with a desk, wardrobe, and an elaborated display case behind the desk. On the desk is ![]()
![]()
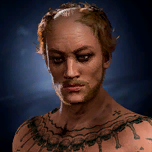
In the display case is the mummified corpse of Orin's mother 
![]()
At the far end of the room is a bed. To one side of is the dead body of an imp-like creature named 
![]()
If the Dark Urge was not picked as origin, a dead body of a
Next to the bed is a locked Wooden Chest which can be opened with ![]()
Several documents around the room concern ![]()
![]()
Involvement[edit section | visual editor]
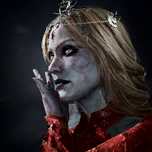
The Bhaal Temple serves as base of operations for the followers of the Cult of Bhaal and their leader Orin the Red. It is the place where ![]()
![]()
![]()
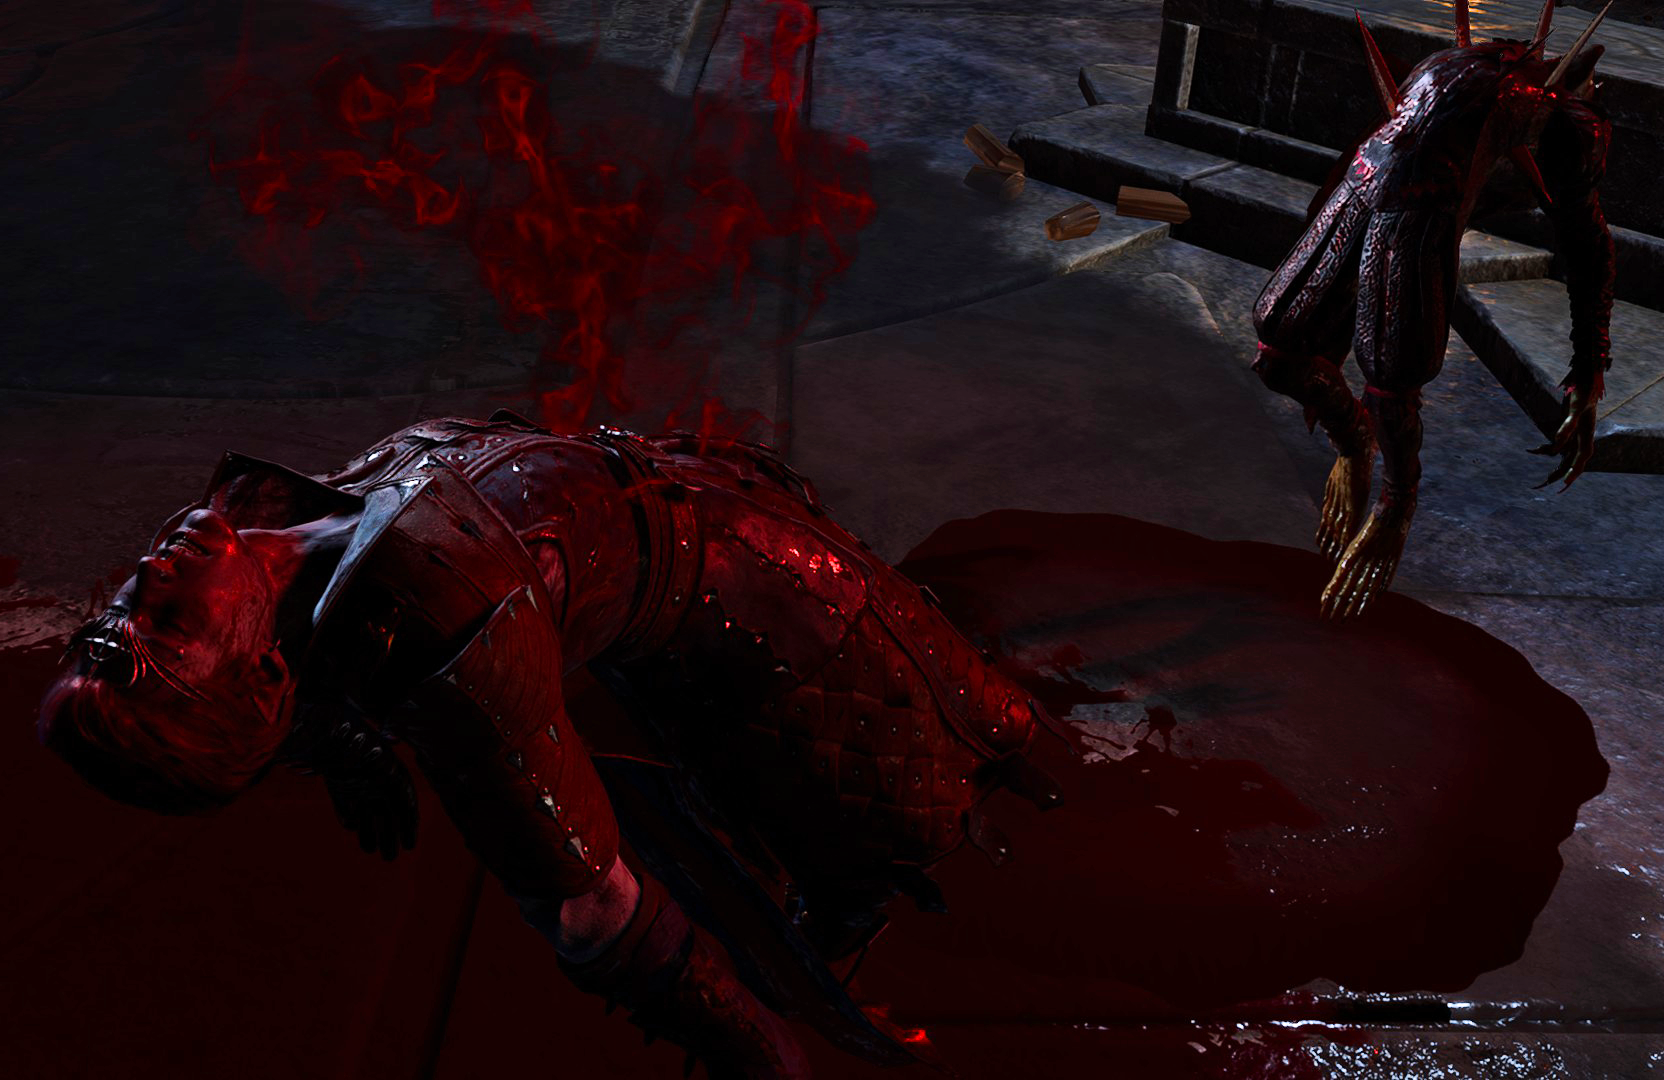
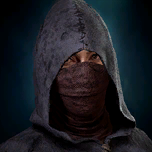
In the center of the temple lies the kidnapped victim of Orin, chained to the altar. Orin wanders around, bantering with the closest cultists. Her retinue consists of a Death's Head of Bhaal, an Invoker of Bhaal, and six Reapers of Bhaal.
The Rescue[edit section | visual editor]
The player character has several options to secure the abductee's life when they approach the altar:
- Succeeding a

- Distracting Orin from killing the victim by revealing her true lineage. Convincing her requires a

- Unlocking the victim's bindings (regardless of the way) while approaching the altar stealthily or using

- Beginning a combat with Orin by attacking her or any member of her retinue
If the interacting player character chooses the dialogue options "Go ahead. I won't stop you." or "His/her fate is of no interest to me", or fails any check, or (as the Dark Urge) refuses to duel, Orin immediately murders her hostage. If the abducted victim is a companion, and they are executed by Orin or die in the subsequent fight, they cannot be revived afterwards by any means, including Withers' resurrecting powers, and their personal quest (if active) is completed.
If the victim is freed before or during the combat, they join the fight as a controllable ally (with available attacks and class actions but without access to the personal inventory). If they survive, they prompt a dialogue afterwards with the player character and leave for camp.
Deceiving Orin about killing Gortash when the party did not do so is one of the possible opportunities to gain the ![]()
![]()
Fighting Orin[edit section | visual editor]

As mentioned, fight with Orin occurs regardless of whether the Dark Urge is picked as origin or not. However, the layout of the battle depends on whether the Dark Urge is chosen as origin, and also on whether the party initiates the dialogue or attacks Orin and / or members of her retinue from afar.
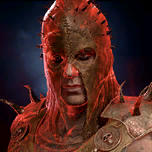
If the Dark Urge is not played as origin, Orin calls on Bhaal's power to transform into the Slayer and attacks (she may do so anyway depending on dialogue choices). If the party attacks first, Orin turns into a Slayer on her first turn. If the player character is the Dark Urge and acquired the Slayer form themselves before Act Three, they are given the option to transform into it during their dialogue with Orin before their duel, in which case she fights against them in her native humanoid form.
If Orin does not duel with the Urge, there is a unique component to the battle. When the battle begins, the Reapers of Bhaal begin chanting a prayer to Bhaal, which activates the the 
![]()
![]()
![]()
![]()
![]()
![]()
![]()
![]()
None of the other cultists in the temple participate in the combat unless they are attacked directly. However, their reactions if spoken to differ depending on whether the interacting party member is not the Dark Urge, and – in the case of the Dark Urge – whether they reject or accept their legacy.
Killing Orin grants one or both of the following inspirations:

The quest ![]()
![]()
![]()
The Dark Urge[edit section | visual editor]

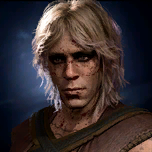
If the player character is the Dark Urge, Orin challenges them for a duel. To rile them up, she shapeshifts into their form and mocks them, revealing her treachery of ambushing them in the Mind Flayer Colony, mutilating and infecting them with a tadpole.
If the Dark Urge is picked, Orin challenges them to one-on-one duel, with none of their comrades interfering per the Bhaalist tradition. If the Dark Urge refuses to duel, the party must then fight the standard version of the boss encounter. Following the battle, the story proceeds as if the Dark Urge had lost the face-to-face fight.
If the Dark Urge accepts the challenge, at the beginning of the fight a visible cautionary ring arises around the altar, . If another party member passes it, the duel is cancelled and the battle continues as normal with the participation of the sanctuaried Reapers of Bhaal as well as the
After defeating Orin, Sceleritas Fel appears at the altar platform, praises the Dark Urge and then is killed as several blades protrude from inside his body. His reflection in the pool of blood speaks to the Dark Urge as the Avatar of Bhaal. This serves as the event horizon for the Dark Urge's personal quest where they may restore themselves as Bhaals's Chosen, or refuse the title.
If the Urge refuses to become Bhaal's chosen they are drained of their father's blood and essence and die immediately. However, they are soon brought back from death by 
![]()
![]()

If the Dark Urge accepts their Bhaalspawn legacy, they are instead tasked to control the 
Taking the ultimate decision concerning their legacy grants the Dark Urge one of the following mutually exclusive inspirations:
Also, accepting Bhaal's gift and blessings is considered an oathbreaking action for Paladins of any Oath subclass, if they are the Dark Urge themselves.
If the Dark Urge embraces their Bhaalspawn legacy while inside the temple, upon leaving it the party is confronted by 

![]()
Waypoints[edit section | visual editor]
This location has the following ![]()
Related locations[edit section | visual editor]
Related quests[edit section | visual editor]
Achievements[edit section | visual editor]

Characters[edit section | visual editor]
Notable[edit section | visual editor]


Abducted companions / camp followers[edit section | visual editor]
One of these characters is abducted by Orin prior in the playthrough and can be found chained to the altar in the centre of the temple.


Cult of Bhaal followers[edit section | visual editor]


Orin's victims[edit section | visual editor]
Up to two of these deceased characters are displayed in the alcoves on the outer perch of the temple, depending on the party's encounters with Orin in Rivington.
Related literature[edit section | visual editor]
Gallery[edit section | visual editor]
-
The body of Helena Anchev on display in Orin's quarters.
-
The body of a Fallen Bhaalspawn next to Orin's bed.


Notes and references[edit section | visual editor]
- ↑ The large

- ↑ The final battle of the original Baldur's Gate game takes place at the Temple of Bhaal, which is ultimately destroyed. See also

- ↑ As Sarevok relates himself when first met. Source:
LOW_MurderTribunal_Sarevok_Trial. - ↑ 4.0 4.1 4.2 Appears only if the party met Orin's impersonations only once, or did not meet any of them at all.
- ↑ If the player character is not the Dark Urge, these three succumb to death instantly after Orin and her retinue are defeated, unlike all other followers of the cult within the temple. If the player character is the Dark Urge, they survive regardless of the outcome of the fight and the further events.
- ↑ This also dovetails with the story of Helena's death as told by Sarevok.
- ↑ This only applies to the potential of gaining this inspiration in Act Three. If the inspiration with the same name is granted in Act Two for exposing an Absolute's spy in Last Light Inn it cannot be obtained again here.[verify]
- ↑ Harming them with any spell does not stop their chant.
- ↑ Appears only if the Dark Urge is not picked as origin.
- ↑ If the Dark Urge is picked as origin.
- ↑ If the Dark Urge is picked as origin, and they rejected Bhaal's legacy and blessings.
- ↑ Though not formally wearing the title within the game, Bloodmopper has the archetype and the abilities of a Night Blade.

External links[edit section | visual editor]
